



How to Convert Multiple .cr3 Images to .dwf?
1. Download and Install reaConverter
reaConverter is a standalone Windows app — download, install, and start converting CR3 files in under two minutes. You can also resize, crop, and adjust images during conversion.

2. Load your CR3 files
Start reaConverter and add your .cr3 files. The software processes everything locally, so your files never leave your computer.
Add files by dragging them in, browsing folders, or using the right-click menu from Windows Explorer.

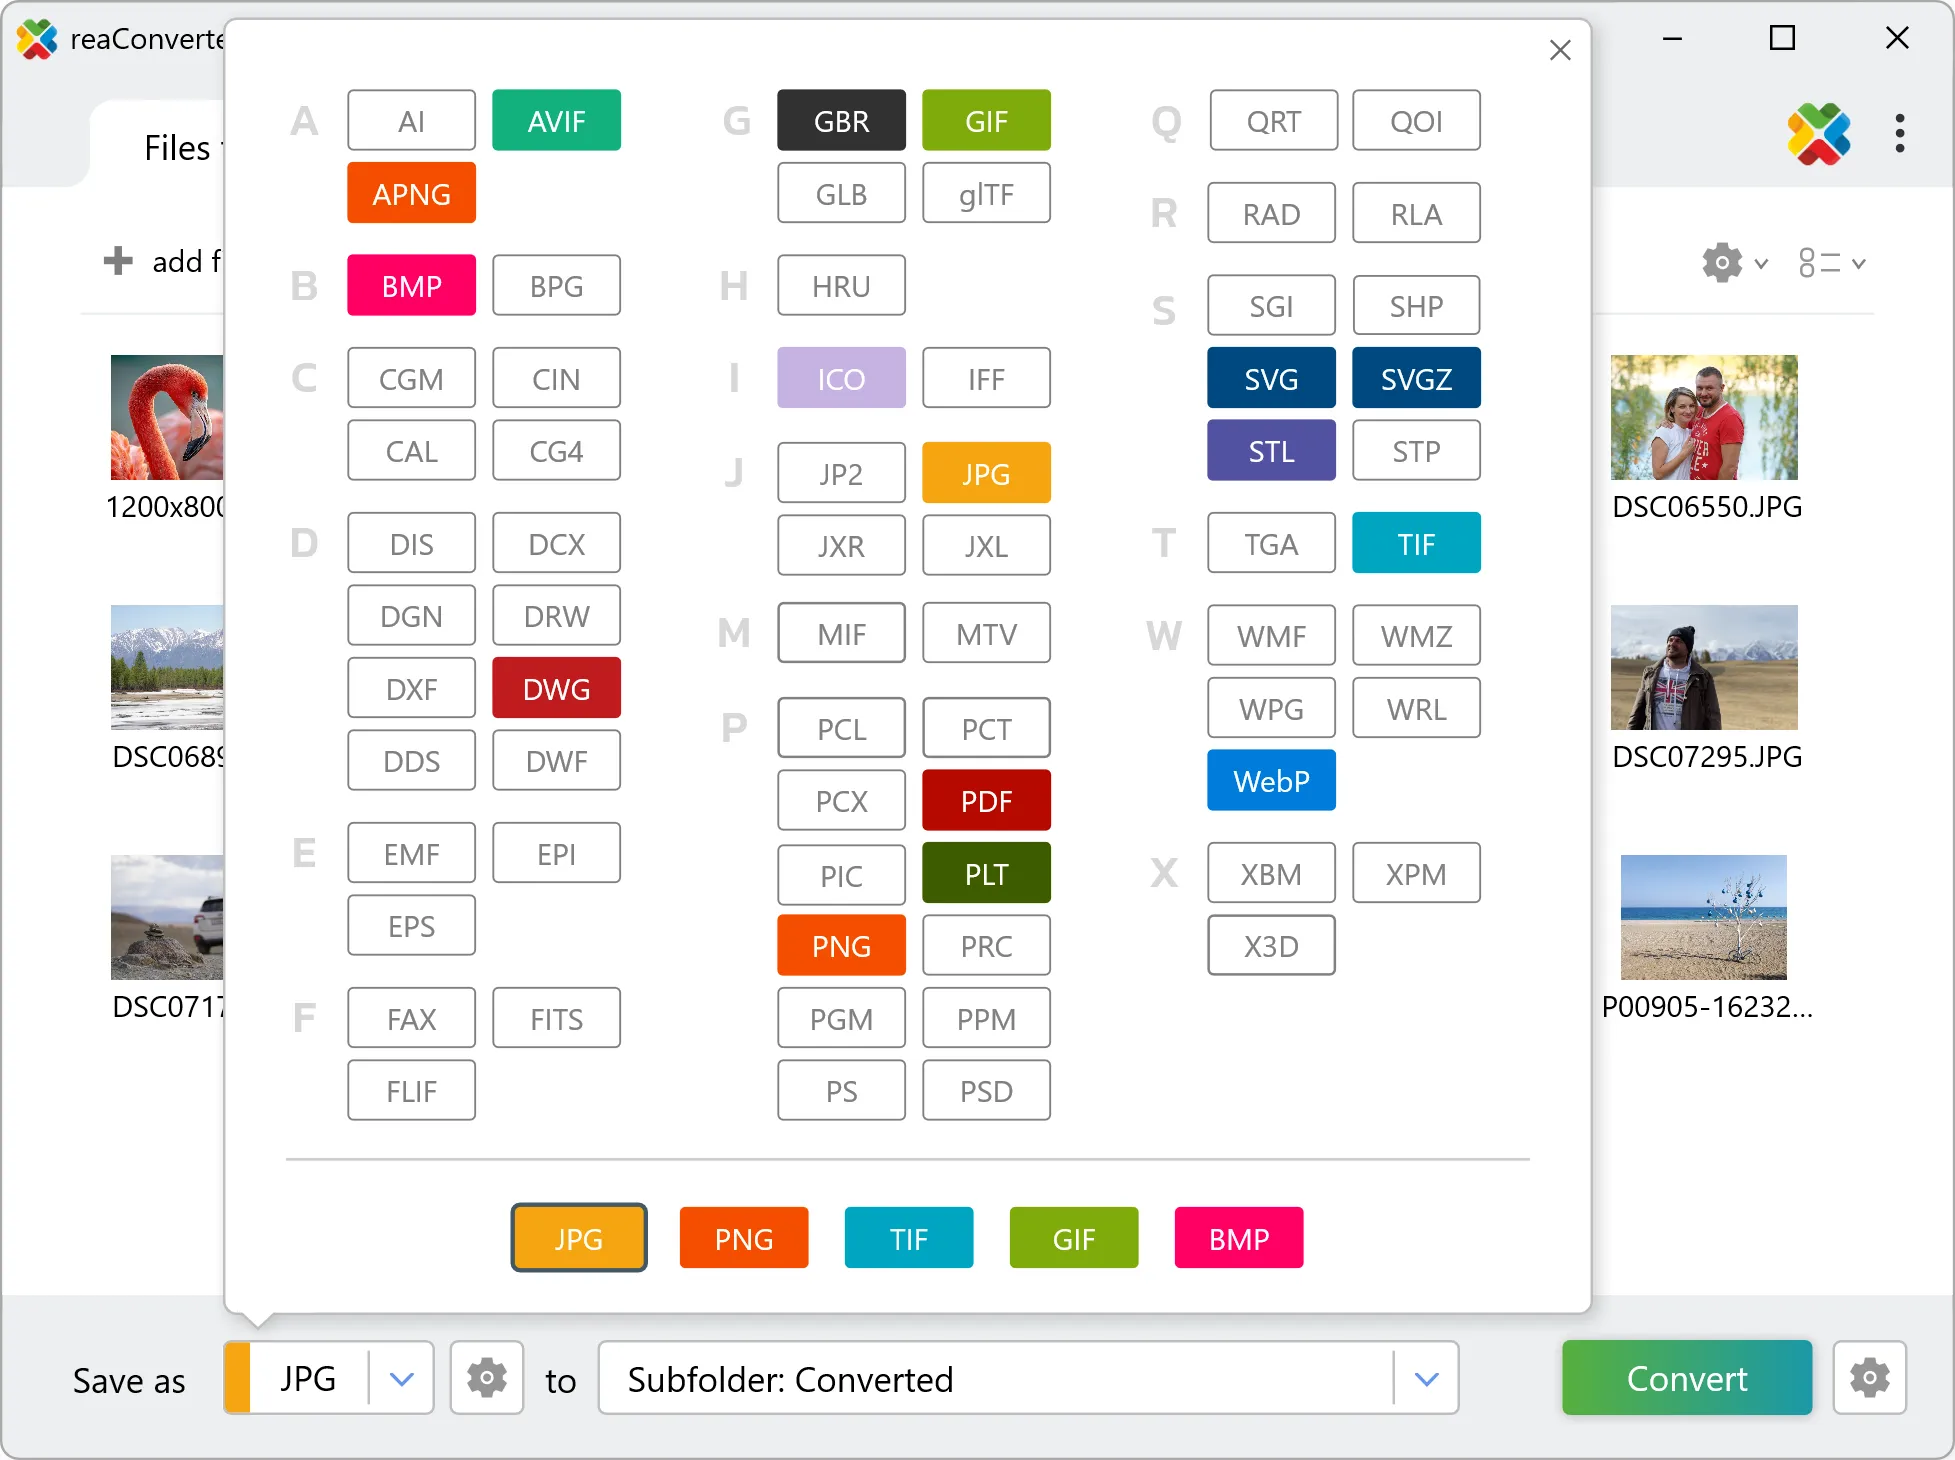
3. Select DWF as output format
Choose DWF as the target format. Pick a destination folder or let reaConverter save files alongside the originals.
4. Start CR3 to DWF conversion
Then simply press the Convert button and your conversion will begin in no time!

Once the conversion is complete, you can find your DWF files in the destination folder you selected.