
How to Convert Multiple CR3 Images to GLTF?
1. Download and Install reaConverter
Download reaConverter and install it in seconds. The setup is straightforward — no complex configuration, no extra software required. Built-in editing tools let you resize, crop, or watermark as you convert.

2. Load your CR3 files
Add CR3 files to reaConverter. One file or a thousand, the process is the same. Everything runs locally on your machine.
Drag-and-drop CR3s directly into reaConverter or use the folder browser to load entire directories.

3. Select GLTF as output format
Select GLTF as target format and pick where to save results. You can keep default settings or fine-tune the output.
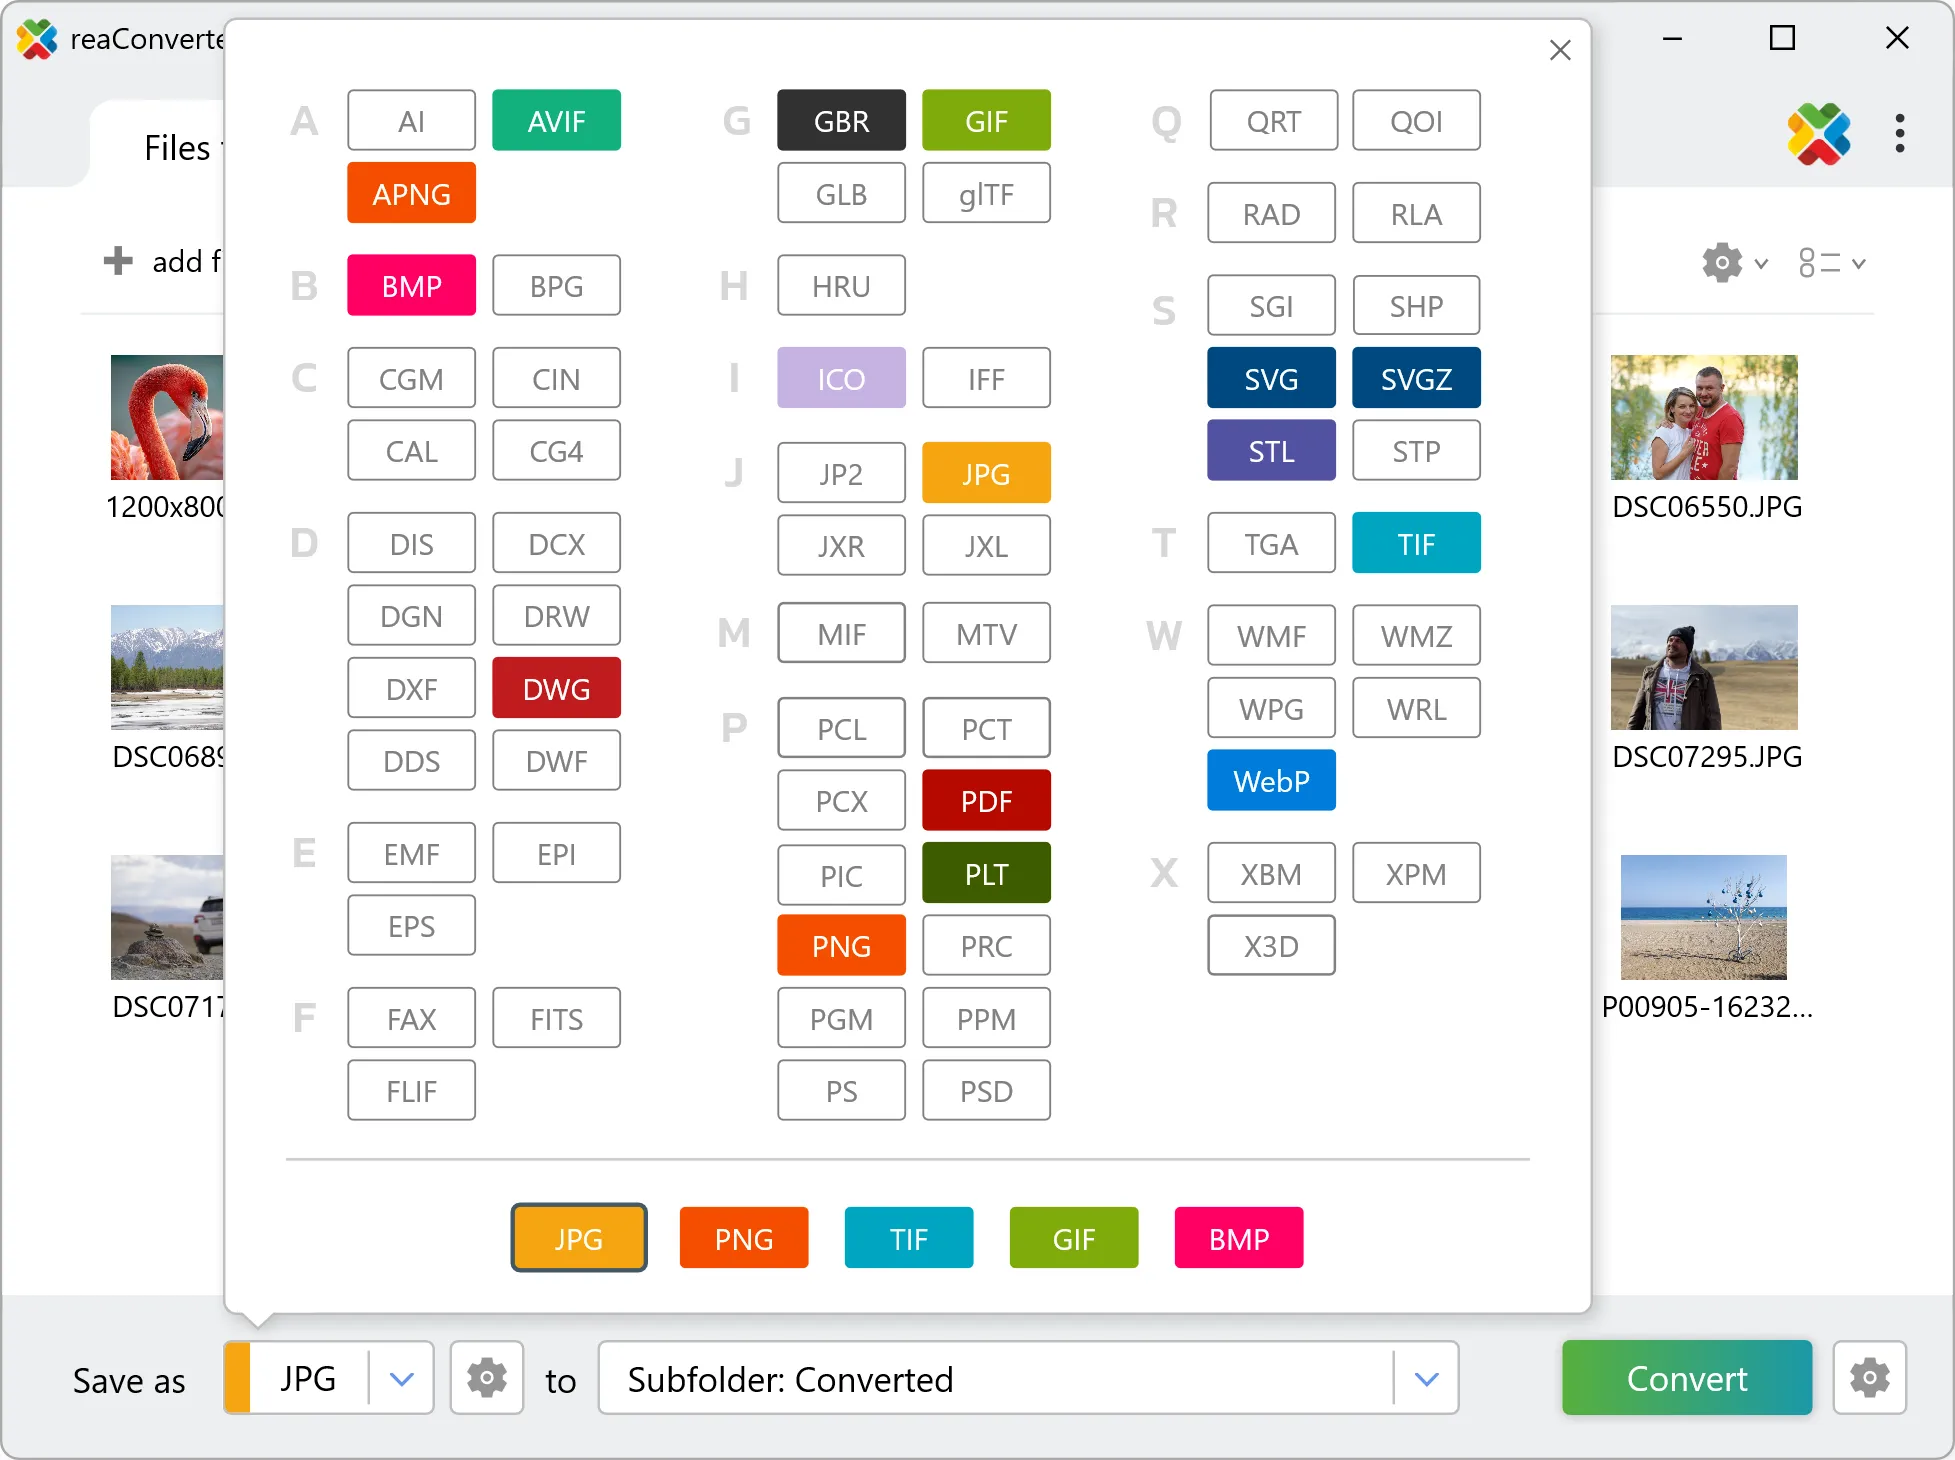
4. Start CR3 to GLTF conversion
Press Convert to begin processing. You can watch the progress or minimize and let it run in the background.

Your converted GLTF files will appear in the destination folder as soon as processing completes.
Before you convert CR3 to GLTF
CR3 files hold unprocessed sensor data, so white balance and exposure are still adjustable. Converting to GLTF bakes those decisions into the pixels, and highlight recovery is no longer available afterwards. Set white balance and exposure before the run rather than after. CR3 is made of pixels and GLTF is a geometry format, so the two describe images in fundamentally different ways. Check the result before sending it downstream: what matters is whether the output contains editable geometry or a picture placed inside a GLTF container, and that determines whether a CAD or design tool can work with it.