
How to Convert Multiple DNG Images to AI?
1. Download and Install reaConverter
reaConverter installs quickly on any Windows PC. No dependencies, no bloatware — just a clean setup that's ready to use immediately. Apply image edits like resize, crop, or color adjustment while converting.

2. Load your DNG files
Load your DNG RAW photos into reaConverter. Add entire shoots at once and process them in minutes.
Browse for files, drag them in, or add entire folders at once. reaConverter queues everything automatically.

3. Select AI as output format
Choose AI as output format. Adjust color profile, quality, and resolution settings to match your photography workflow.
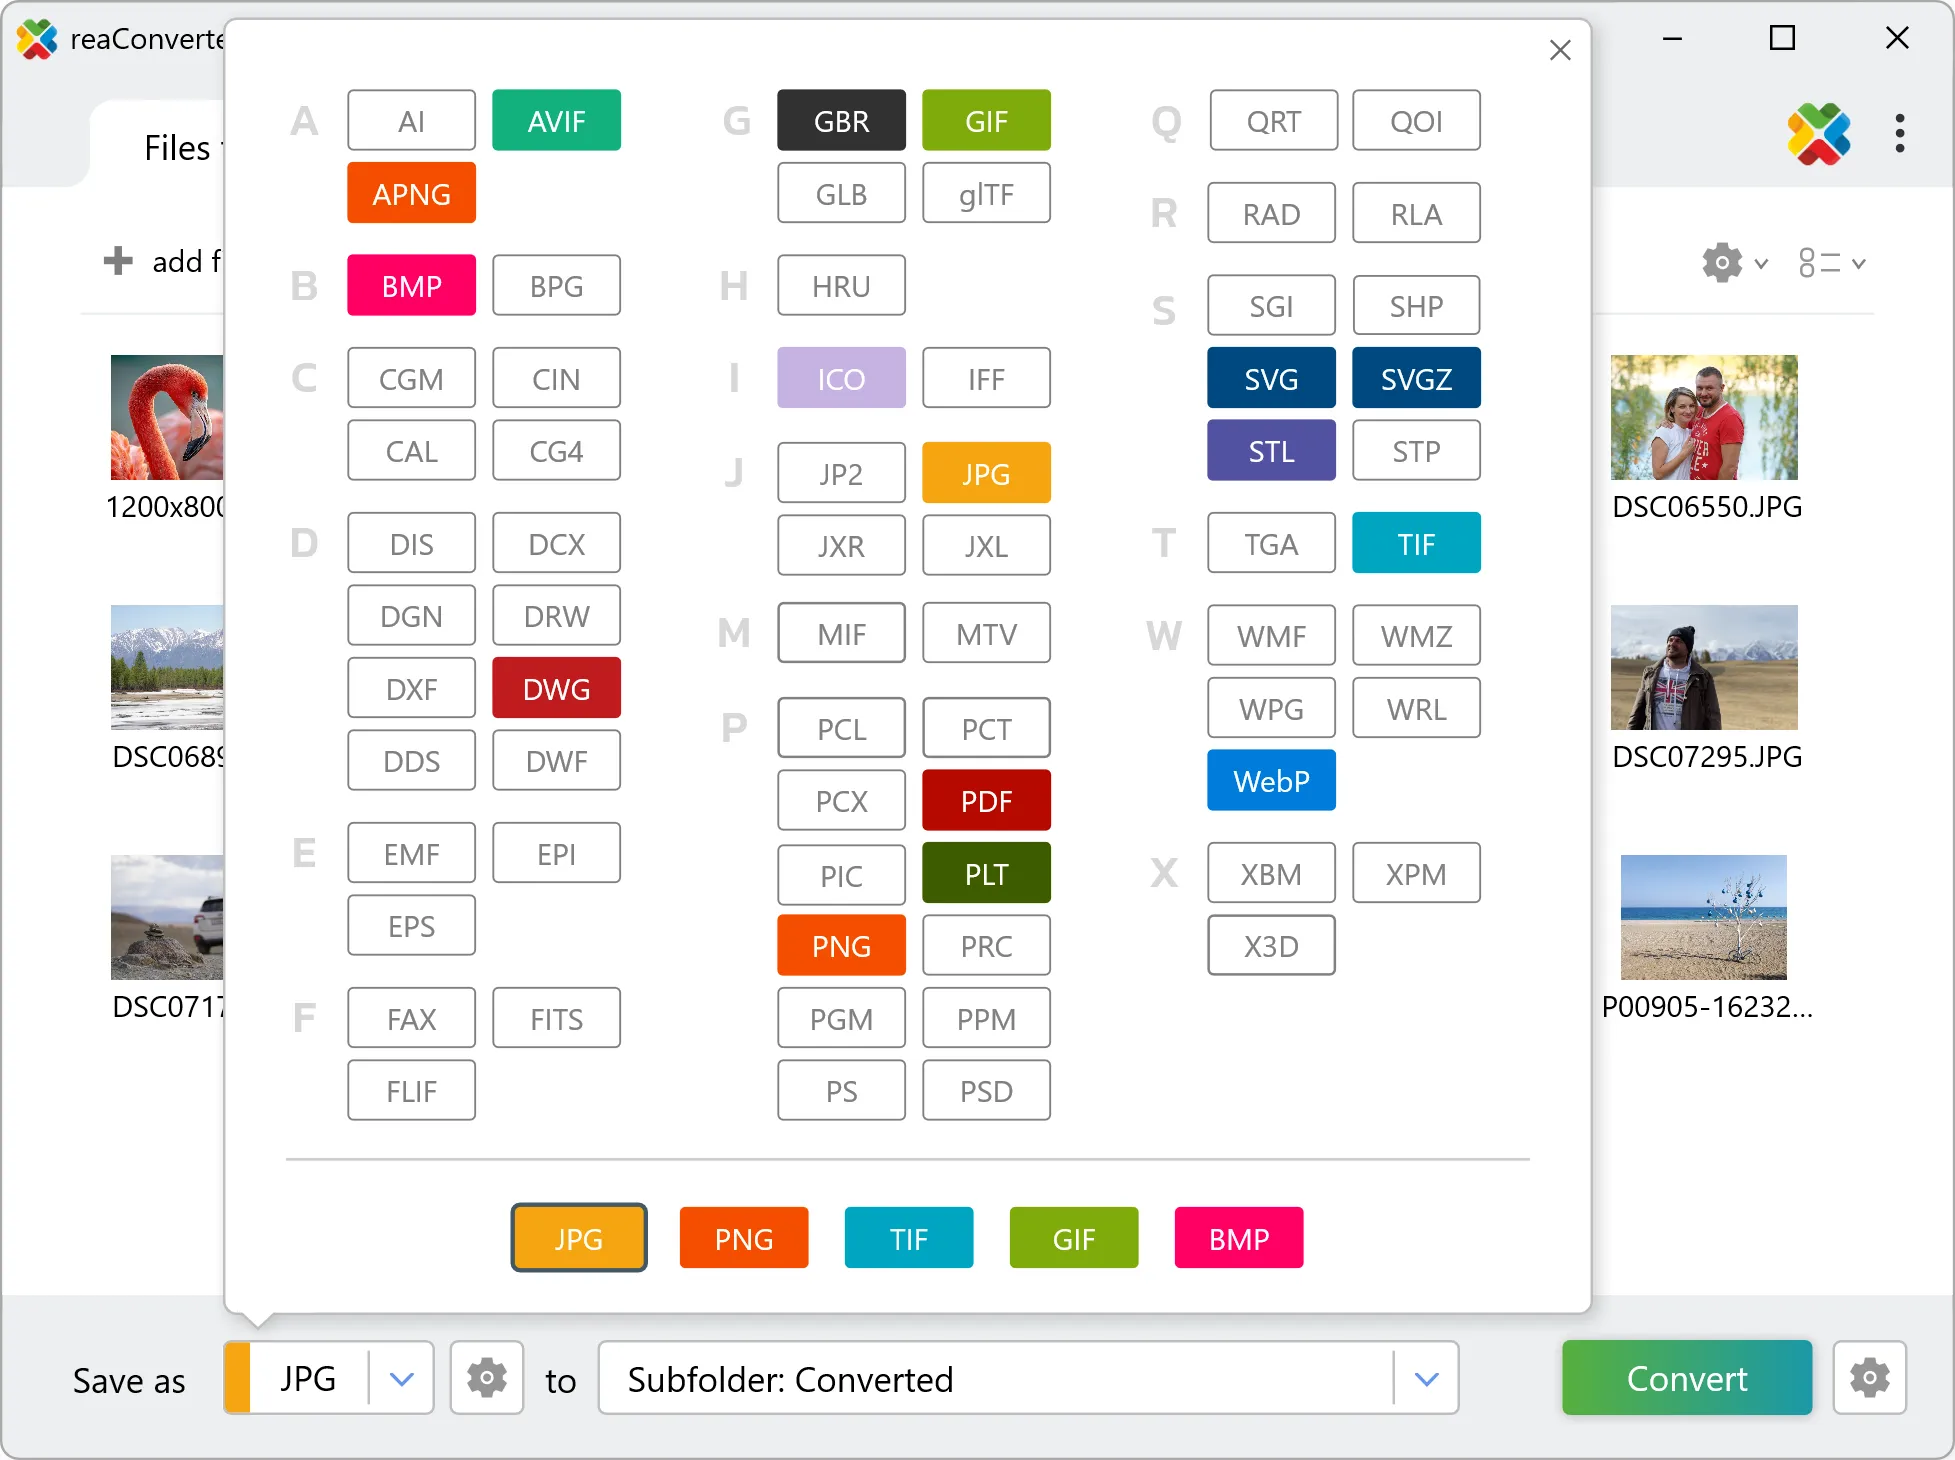
4. Start DNG to AI conversion
Start the conversion with one click. reaConverter handles everything and notifies you when it's done.

When the batch finishes, your AI files are ready in the destination folder you chose earlier.
DNG to AI: what carries over and what does not
DNG files hold unprocessed sensor data, so white balance and exposure are still adjustable. Converting to AI bakes those decisions into the pixels, and highlight recovery is no longer available afterwards. Set white balance and exposure before the run rather than after. DNG is made of pixels and AI is a geometry format, so the two describe images in fundamentally different ways. Check the result before sending it downstream: what matters is whether the output contains editable geometry or a picture placed inside a AI container, and that determines whether a CAD or design tool can work with it.