



How to Convert Multiple .rw2 Images to .emf?
1. Download and Install reaConverter
Download reaConverter and install it in seconds. The setup is straightforward — no complex configuration, no extra software required. You can also resize, crop, and adjust images during conversion.

2. Load your RW2 files
Load your RW2 RAW photos into reaConverter. Add entire shoots at once and process them in minutes.
Browse for files, drag them in, or add entire folders at once. reaConverter queues everything automatically.

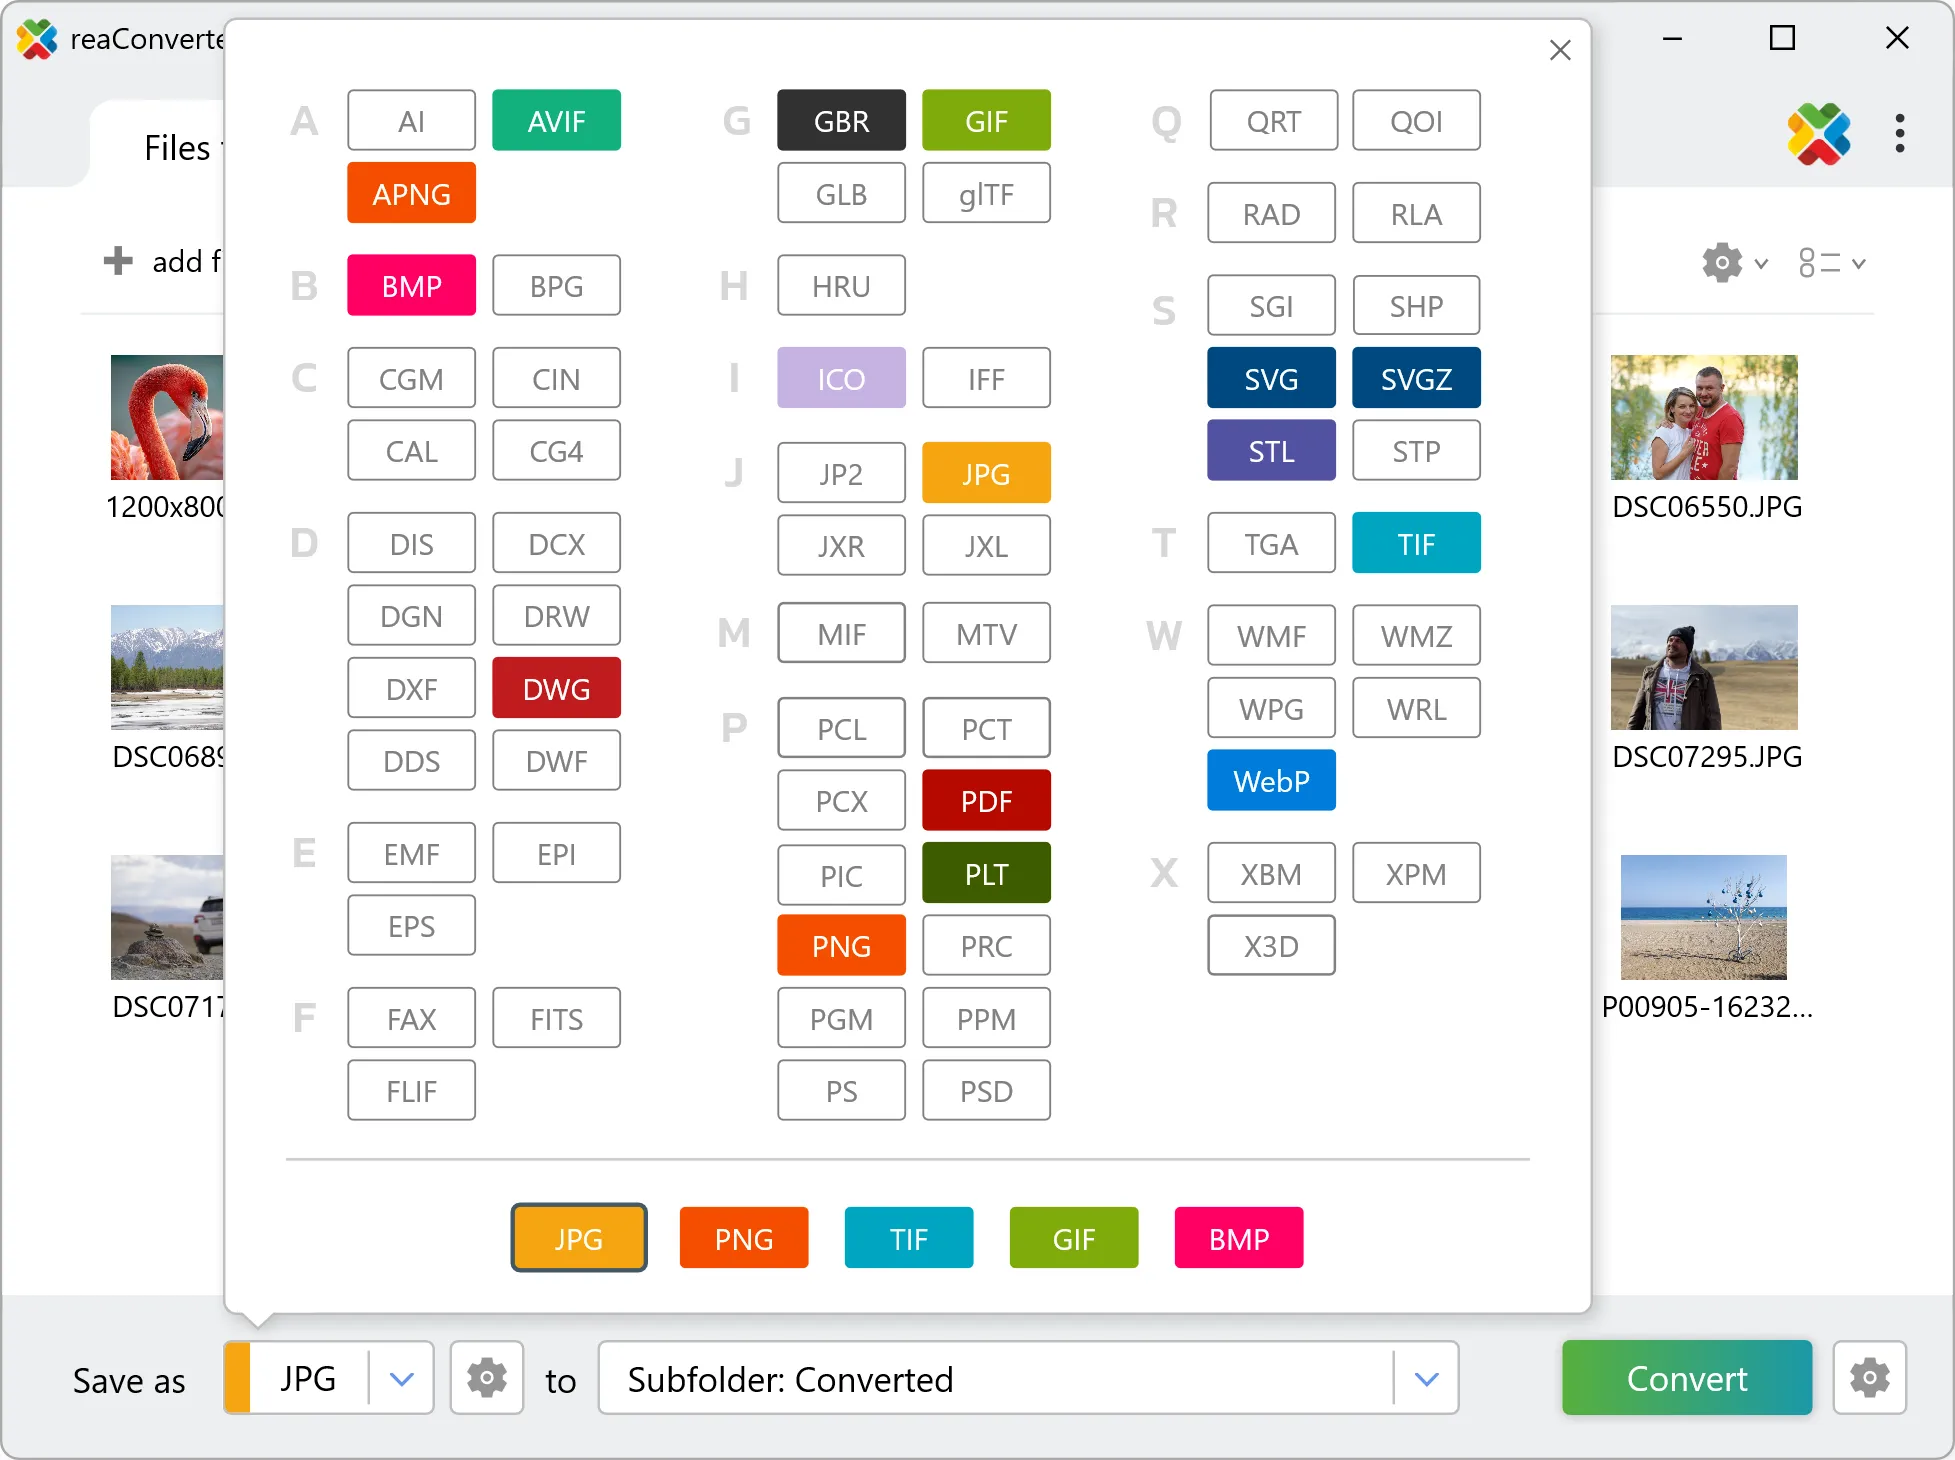
3. Select EMF as output format
Choose EMF as output format. Adjust color profile, quality, and resolution settings to match your photography workflow.
4. Start RW2 to EMF conversion
Start the conversion with one click. reaConverter handles everything and notifies you when it's done.

When the batch finishes, your EMF files are ready in the destination folder you chose earlier.