FAQ
RW2 to TGA Conversion
What are RW2 files?
RW2 is a file format associated with RAW images shot using a Panasonic Lumix camera. Unlike compressed formats such as JPG and PNG, RAW images cannot be used as such but need to pass through post-processing. Professional photographers favor RAW images because they allow them to have more freedom to adjust the image and shape it the way they like. However, setting your Panasonic Lumix camera to shoot RW2 images might not be a good idea if you are an amateur photographer and do not have some knowledge about how to use an advanced image editing program.
What are TGA files?
The TGA (Truevision Graphics Adapter) format, also known as Truevision TGA or TARGA, is a bitmap file containing raster graphics and was initially associated with TARGA and VISTA boards. TGA files can be used on DOS, Windows and Mac OS X platforms for storing and transferring deep-pixel images. They support a color range of up to 24 bits and an 8-bit alpha channel. TGA files are associated with graphic adapters that can capture NTSC and/or PAL video images signals, and they are particularly popular in the domain of still-video editing.
Can reaConverter convert RW2 to TGA?
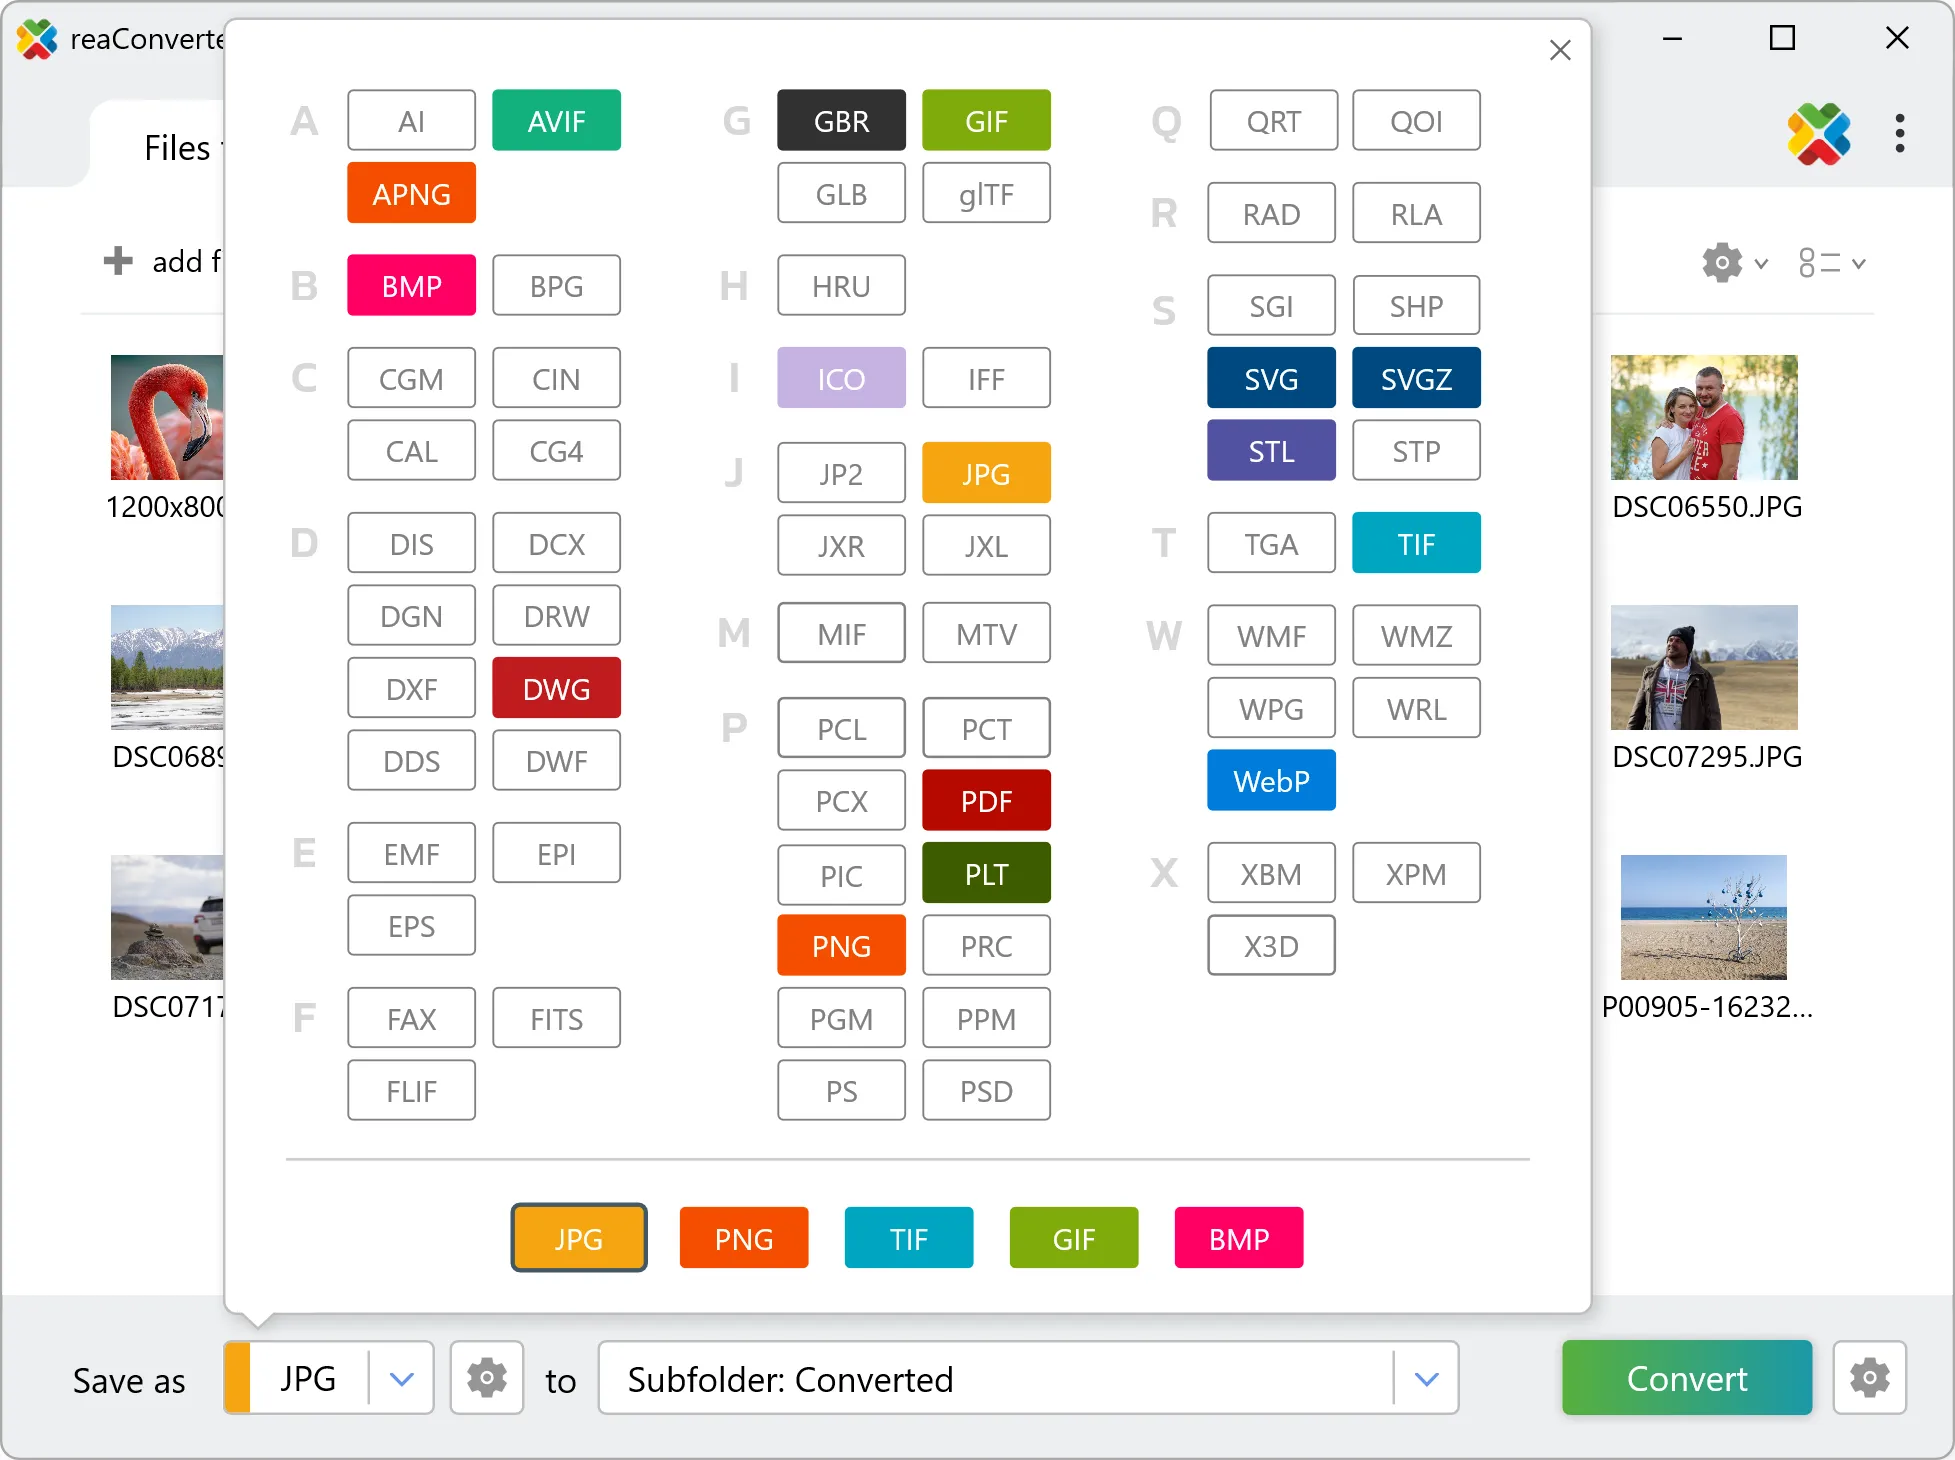
Yes! reaConverter instantly converts .rw2 to .tga with perfect quality preservation. With its batch processing feature, you can convert multiple files at once in just a few clicks. You can even convert RW2 photos directly from Windows Explorer using the right-click menu — fast and convenient.
What is reaConverter used for?
reaConverter is a software program used for converting images and other types of files from one format to another. It supports a wide range of file formats and allows users to convert multiple files at once, making it a valuable tool for graphic designers, photographers, and other professionals who work with digital images. reaConverter also includes features for resizing, cropping, and editing images, along with batch processing capabilities that help automate repetitive tasks.
Can I convert RW2 to TGA in my browser?
Yes — with our free web-based RW2 to TGA converter, you can convert .rw2 files instantly, right in your browser. No installation, no uploads — perfect for quick, local conversions.
How can I turn RW2 files into TGA on my computer?
The best way to change RW2s to TGAs on your PC is to install a quality piece of software, such as reaConverter. This software is extremely efficient in managing a wide range of batch files conversions, including conversion from RW2 to TGA.
How can I automate RW2 to TGA files conversion?
reaConverter supports all the most useful automation features such as right-click сonversion and Watch Folders for the most efficient automated files conversion in any software of this type.
Is there a way to convert RW2 files to TGA using the command prompt?
reaConverter provides full access to all its features via Windows command line, including a high-performance command-line rw2 to tga converter for batch processing.
What else can I do with reaConverter?
Convert CAD formatsSet file dateConvert PDFWatermark imageConvert GIS files
Related conversions
Other ways to convert RW2 files, and other sources that convert to TGA.