


How to Convert Multiple .vsi Files to .png?
1. Download and Install reaConverter
First, grab reaConverter from the download button below. Installation is fast, and the software runs offline — no account or signup needed.

2. Load your VSI files
Launch reaConverter and load the VSI files you want to convert. Add a few files or thousands, batch processing handles them all.
Drag files into the window, use the Add Files button, or select entire folders.

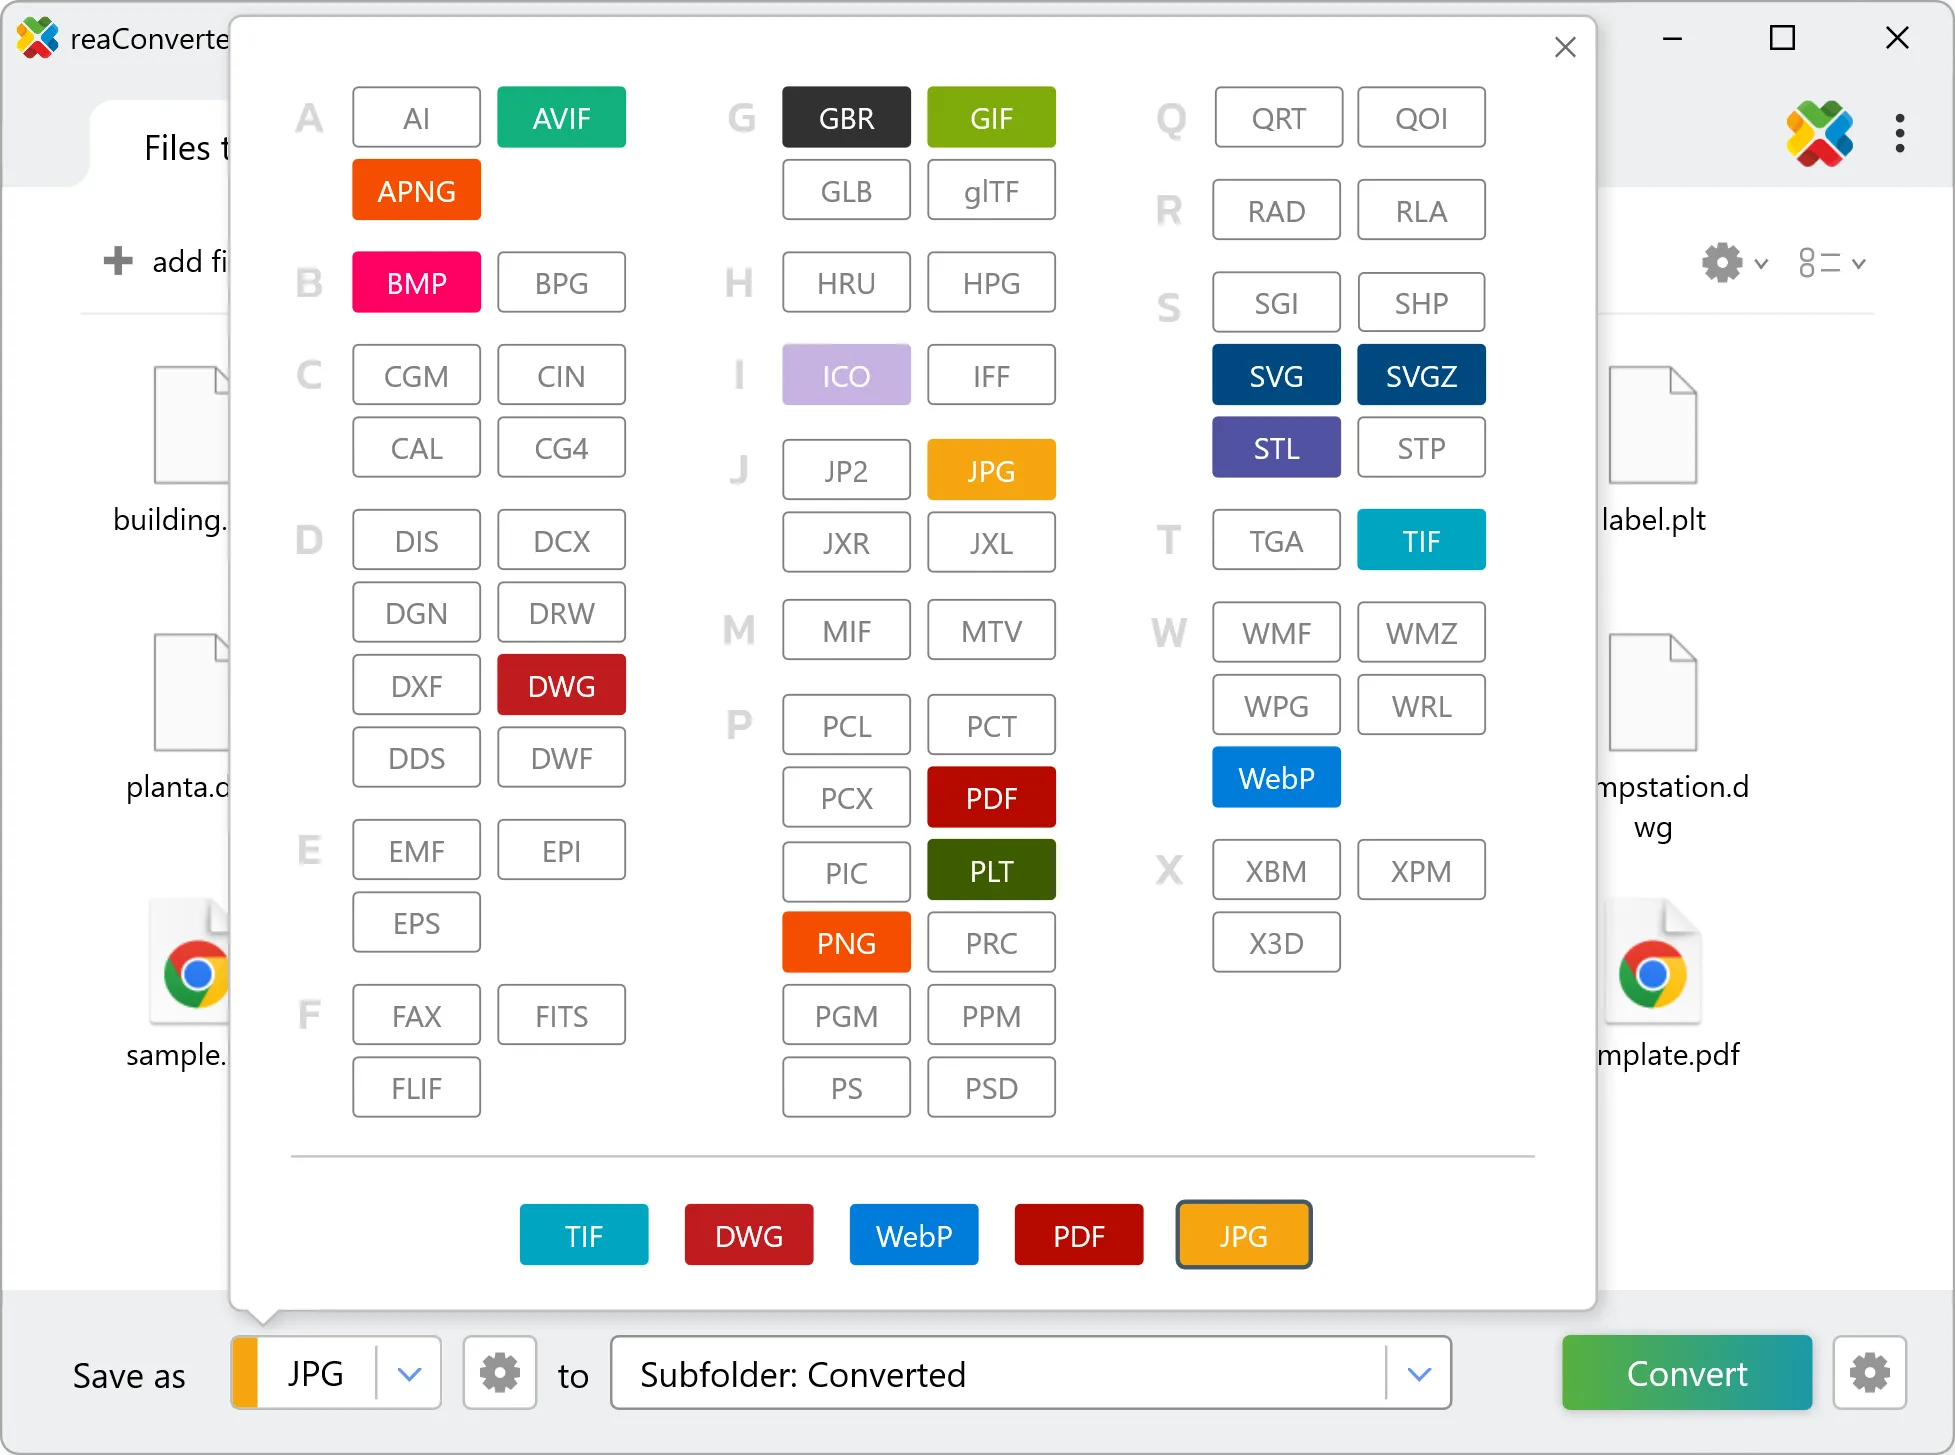
3. Select PNG as output format
Select PNG from the output format list and set your destination folder. You can also adjust quality and compression settings.
4. Start VSI to PNG conversion
Hit Convert to process your files. The log window shows progress, timing, and status for every file.

Conversion complete? Your PNG files are saved to the destination folder, ready to use.