Format Specific Saving Settings
How to apply format specific settings?
1. Open Images
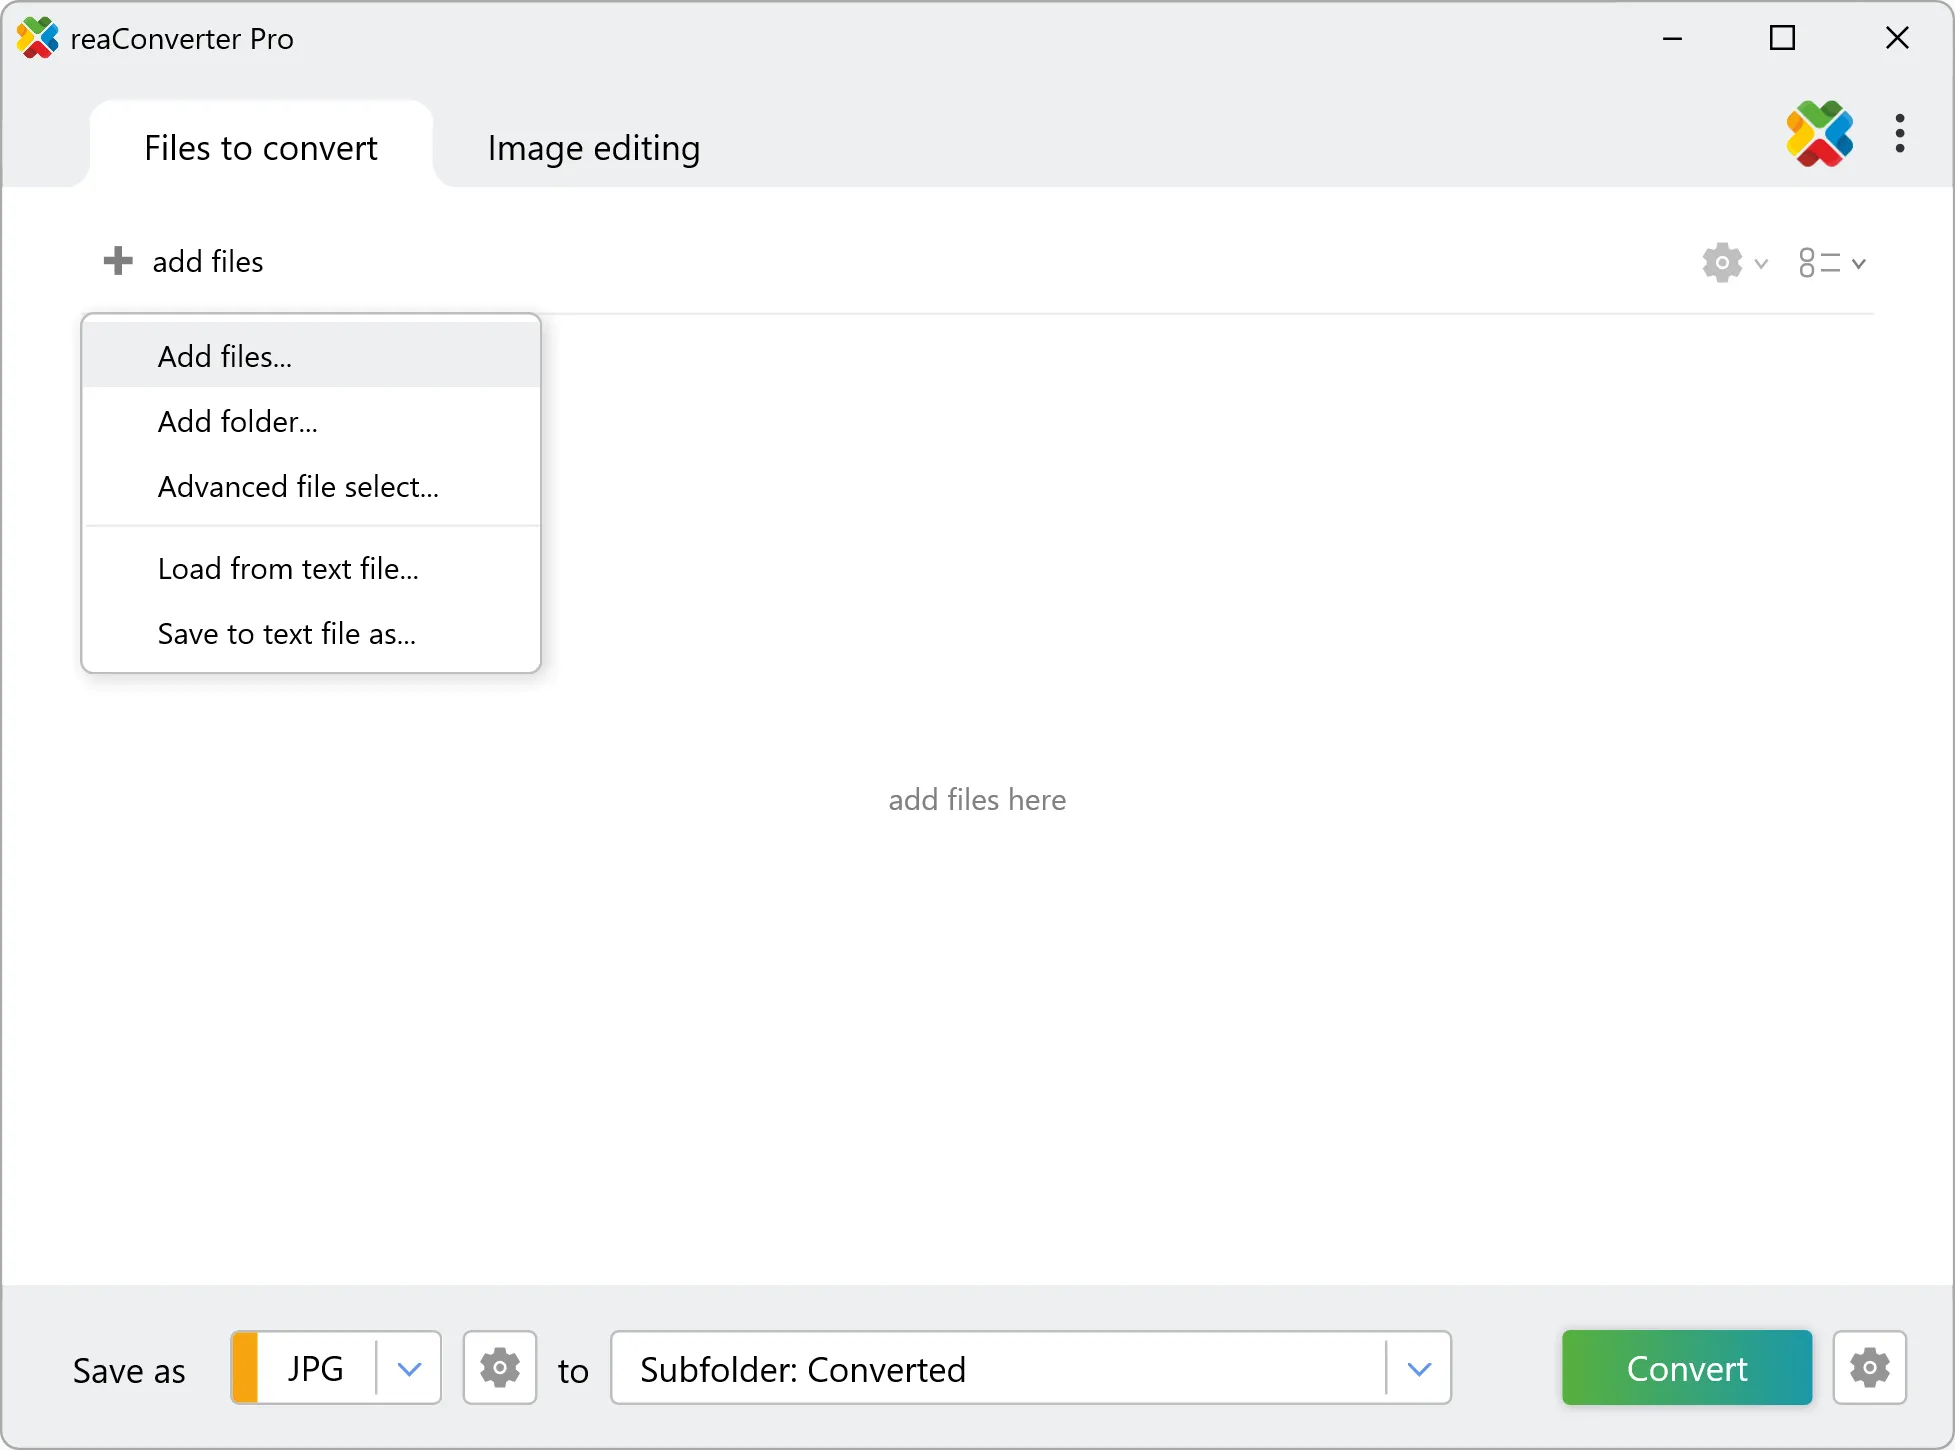
Add one or more files you intend to convert. Select them one by one or drag-and-drop them directly into the reaConverter window.
2. Format Saving Settings
Go to the Menu button and click Saving settings → Format saving settings
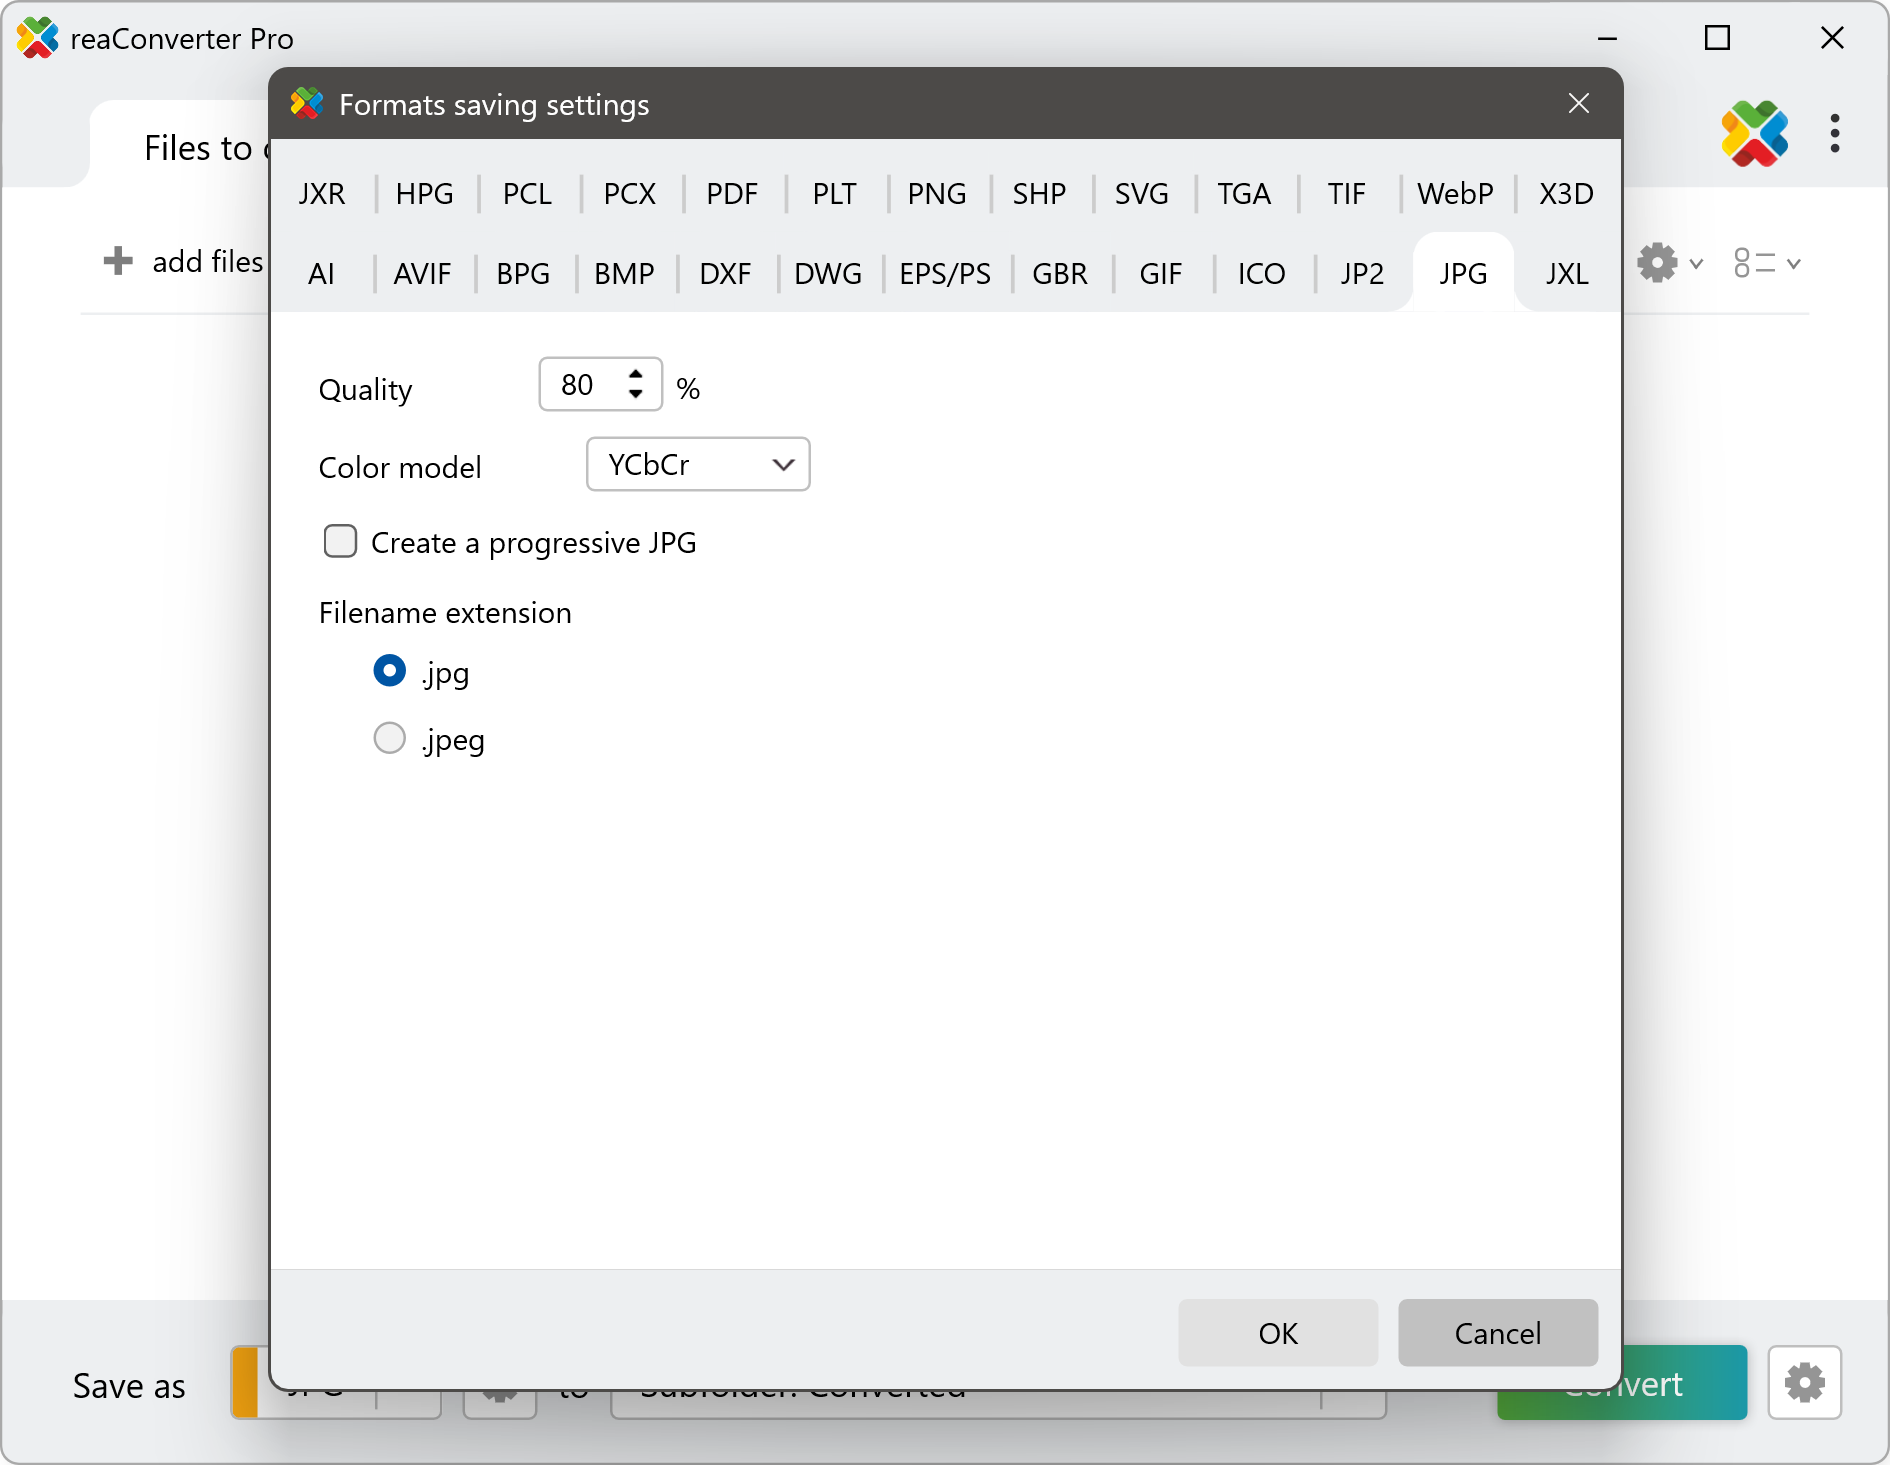
Each tab offers a series of tools and settings that help you control and customize the conversion process in an easier and more accessible way. For example, you can make a transparent PNG file by simply ticking the appropriate box, you can create a compressed BMP file or select from several types of compression in the case of TIF files.
3. Save the Result
In case you don't want to add any image editing, go directly to the Saving options section, where you can pick the location and format of your images. You can easily opt for saving in a local folder of your choice.
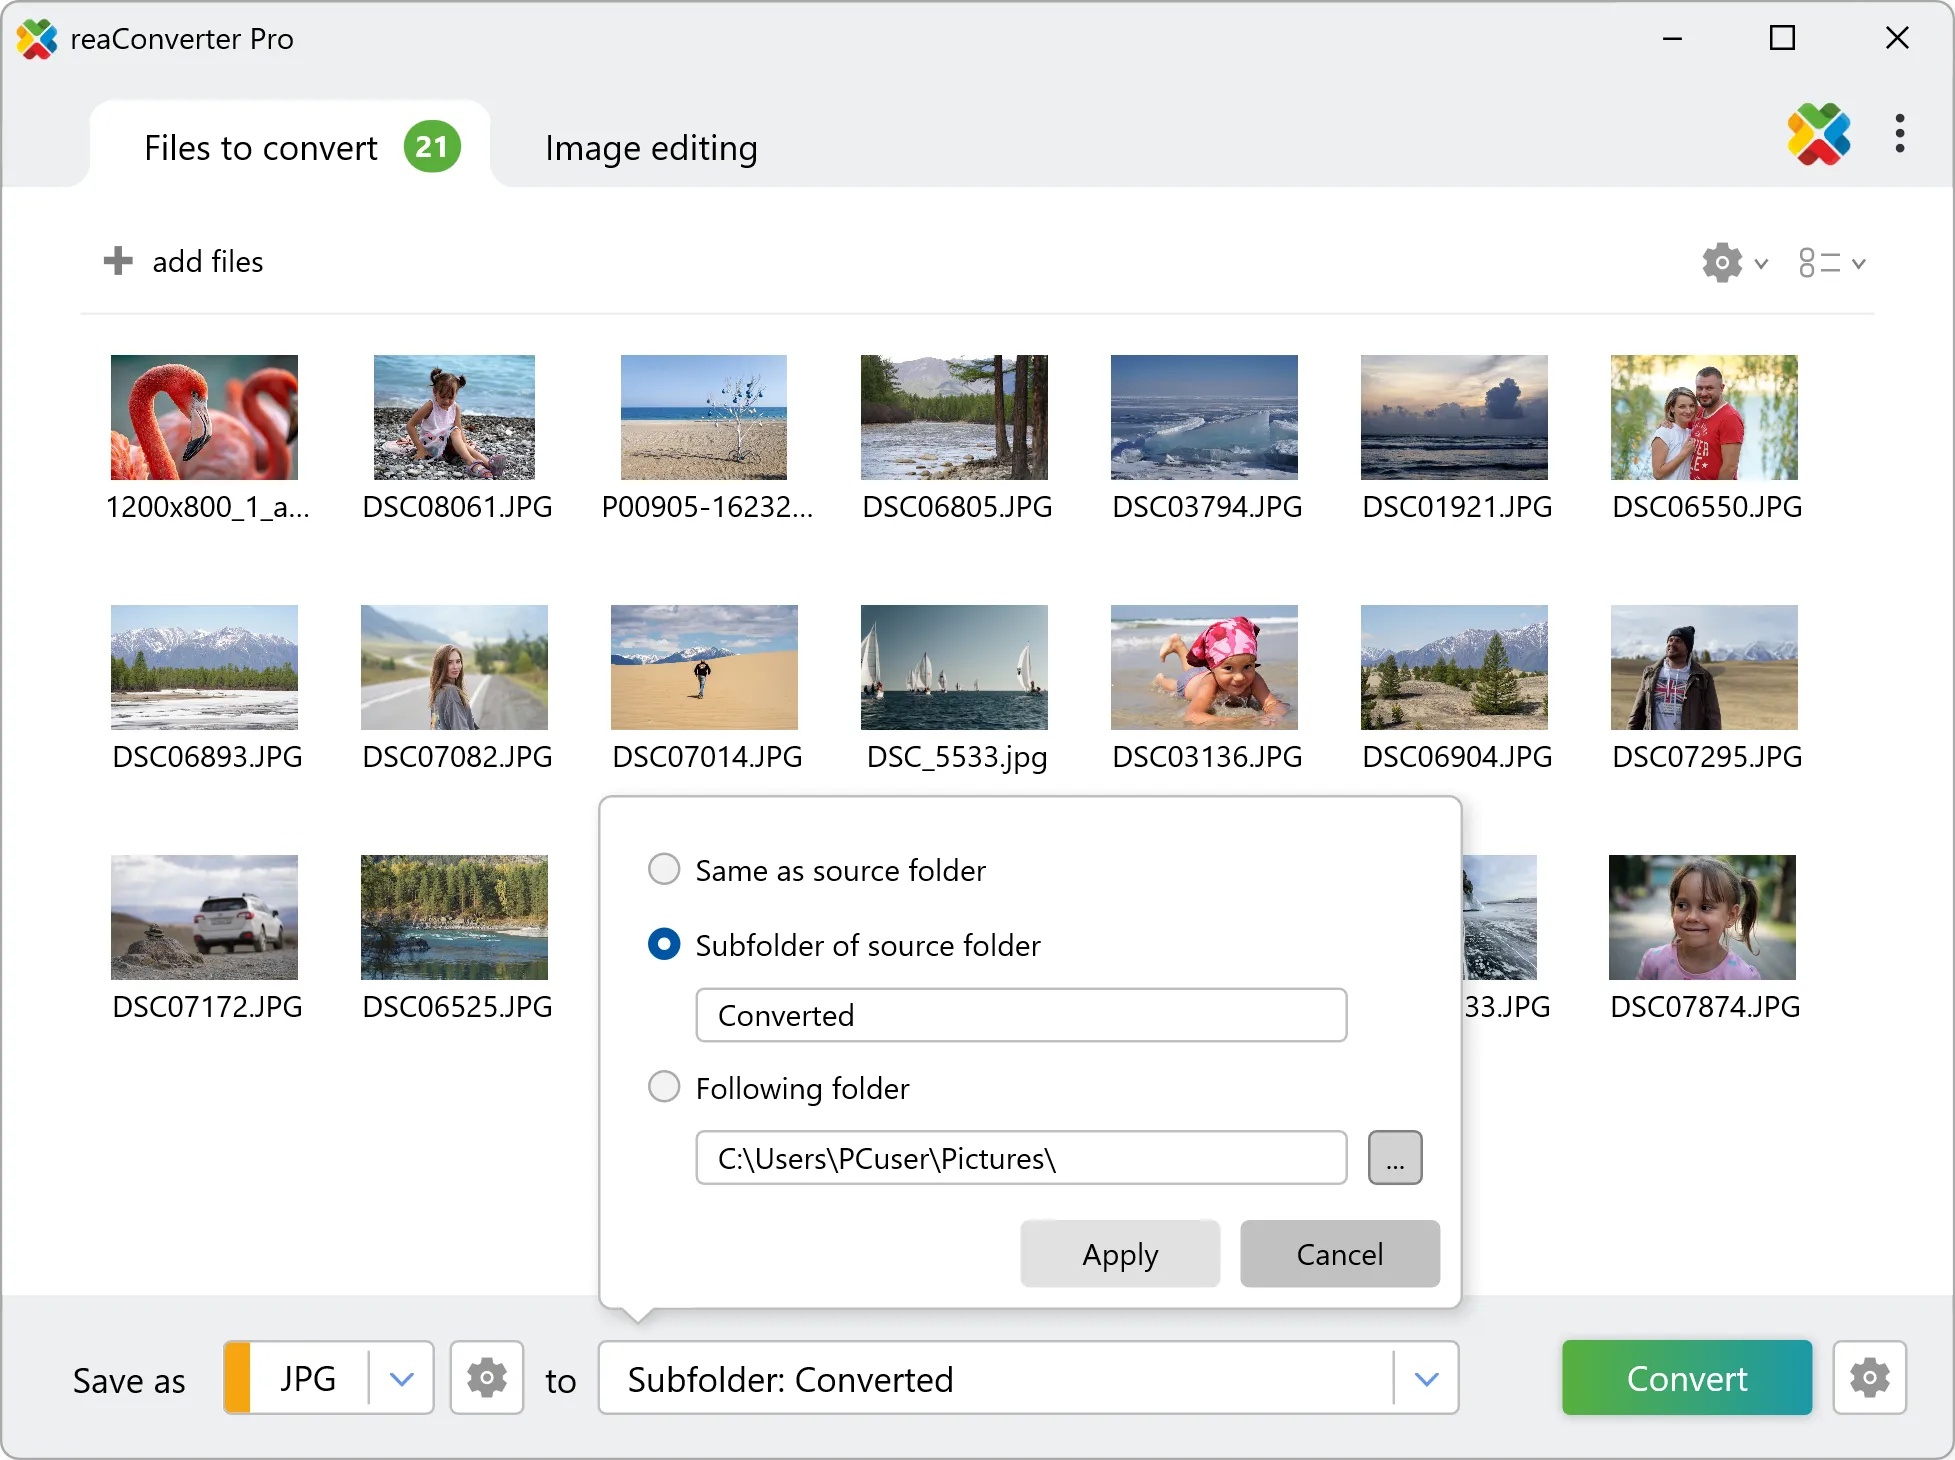
Finally, pick the extension of the output files from the lower part of the window and then simply press Convert. Your new files will be done in no time!
Watch How It Works
How to convert files on your PC
The fast and easy way to convert files is to use reaConverter. The software runs completely offline, keeping your files safe and private.
Discover More
More than a converter
Advanced batch processing and editing for 800+ file formats, including CAD, medical imaging, and GIS. No cloud, no upload limits.