


How to Convert Multiple .arw Images to .iges?
1. Download and Install reaConverter
Install reaConverter for fast ARW conversion. Quick setup, then you're ready to process entire photo shoots. reaConverter also includes editing tools: resize, crop, rotate, and more.

2. Load your ARW files
Open reaConverter and import your .arw files. No file limits, no slowdowns. Add as many as you need.
You can drag-and-drop files, browse to a folder, or add entire directory trees including subfolders.

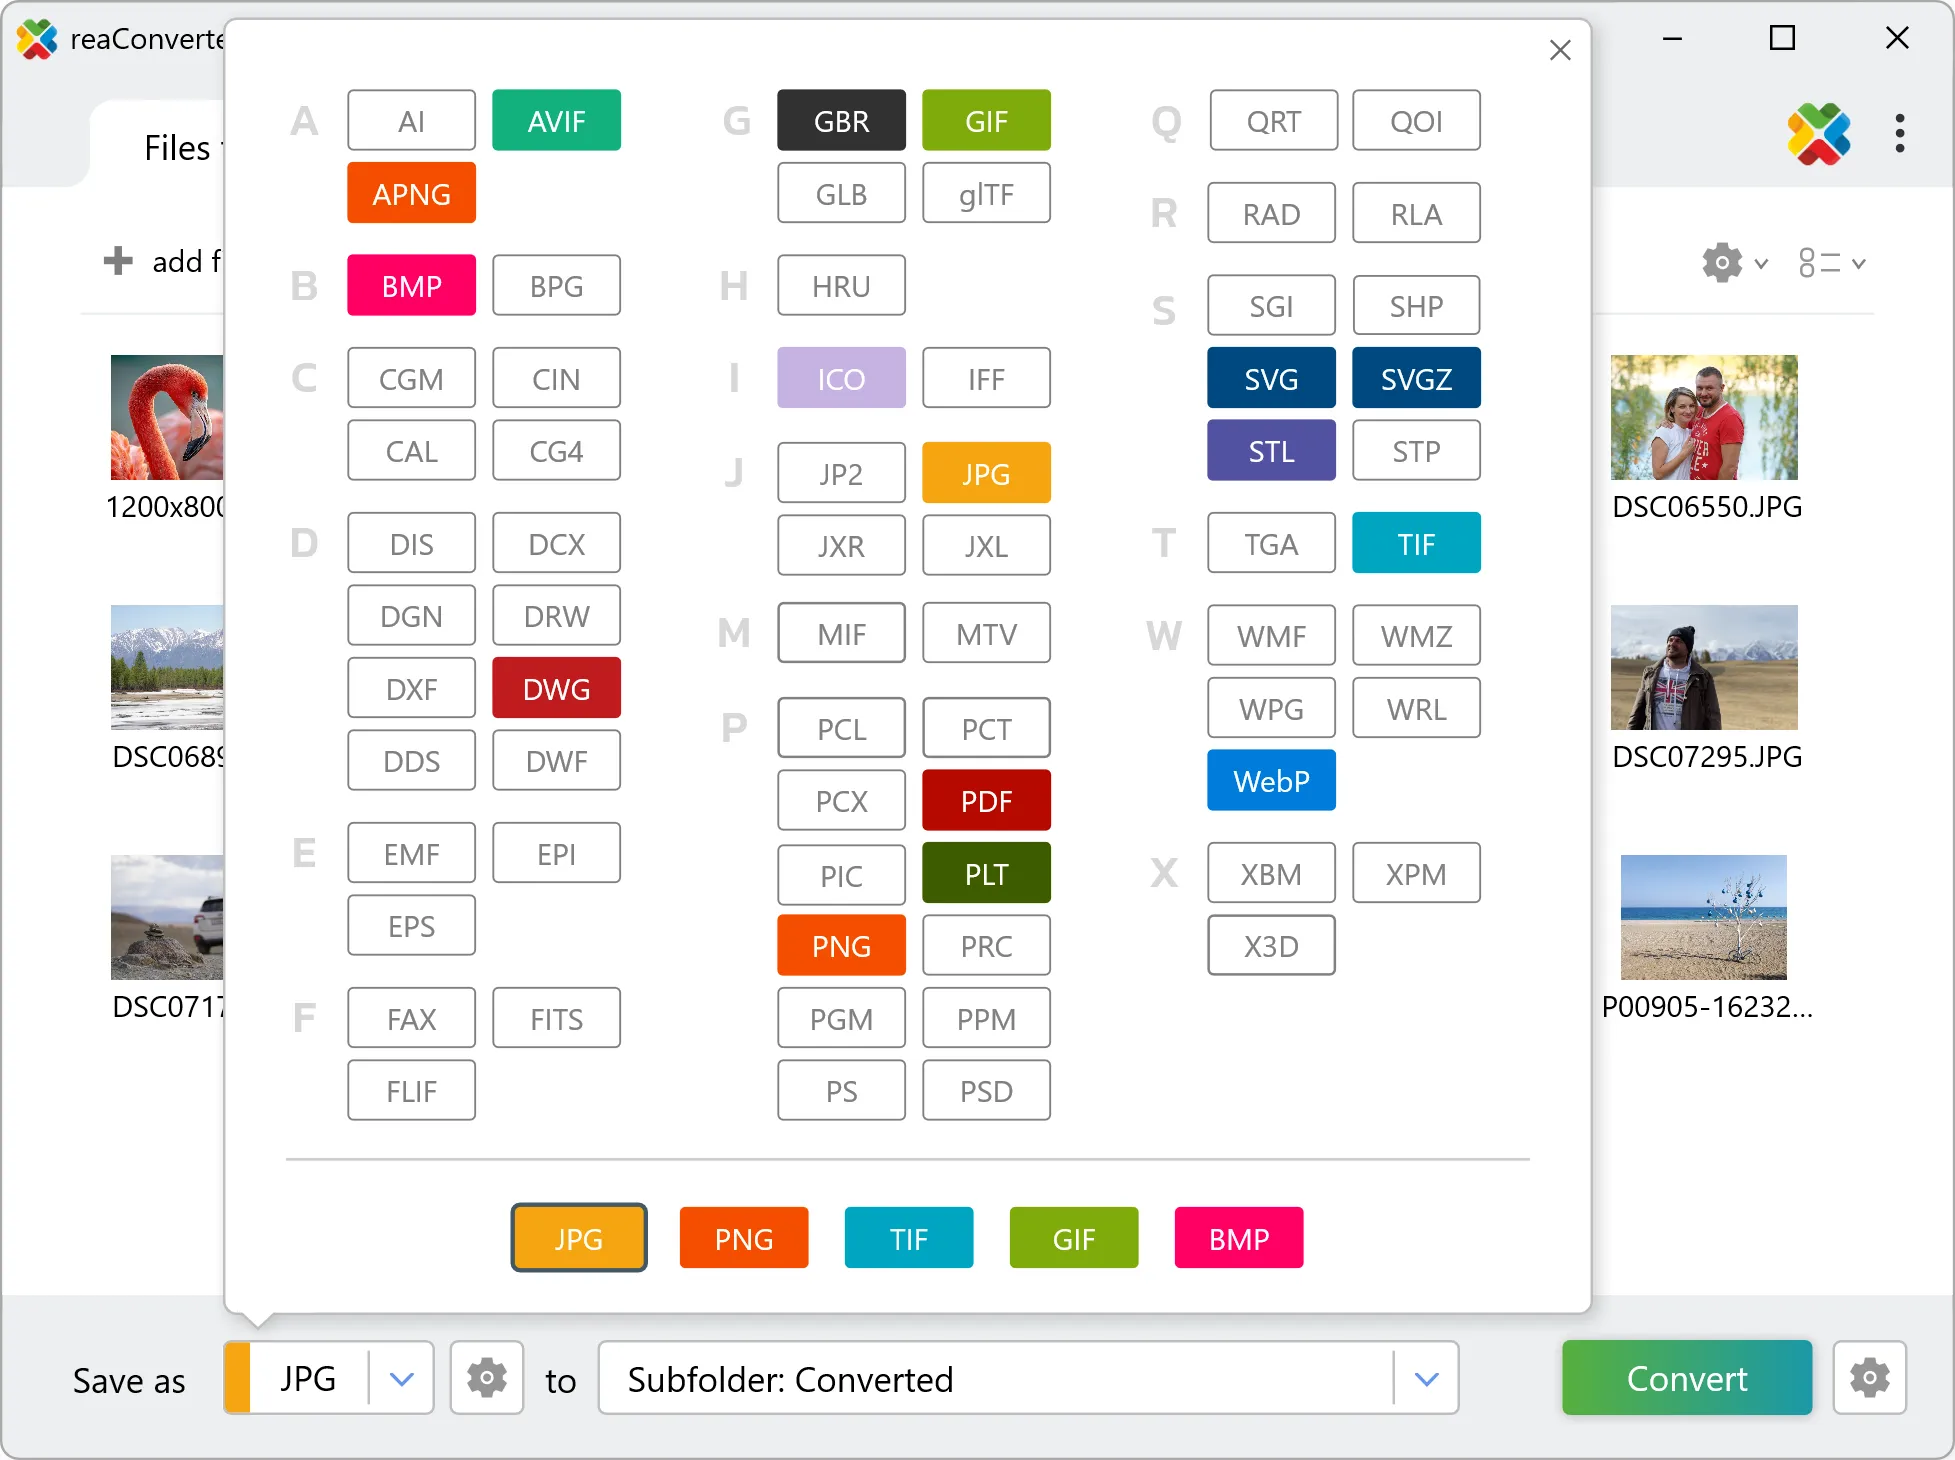
3. Select IGES as output format
Pick IGES as the output format. Set the destination folder and optionally configure resolution, quality, or file naming.
4. Start ARW to IGES conversion
Click the Convert button to start. reaConverter will process all your files with the settings you selected.

When finished, your new .iges files will be waiting in the destination folder.