


How to Convert Multiple .cr3 Images to .stl?
1. Download and Install reaConverter
reaConverter installs quickly on any Windows PC. No dependencies, no bloatware — just a clean setup that's ready to use immediately. You can also resize, crop, and adjust images during conversion.

2. Load your CR3 files
Open reaConverter and add your CR3 files. You can load individual files, entire folders, or even nested subfolders.
Select CR3s from a folder or drag-and-drop them directly into the reaConverter window.

3. Select STL as output format
Pick STL as output format and choose the destination folder where you want to save new .stl files.
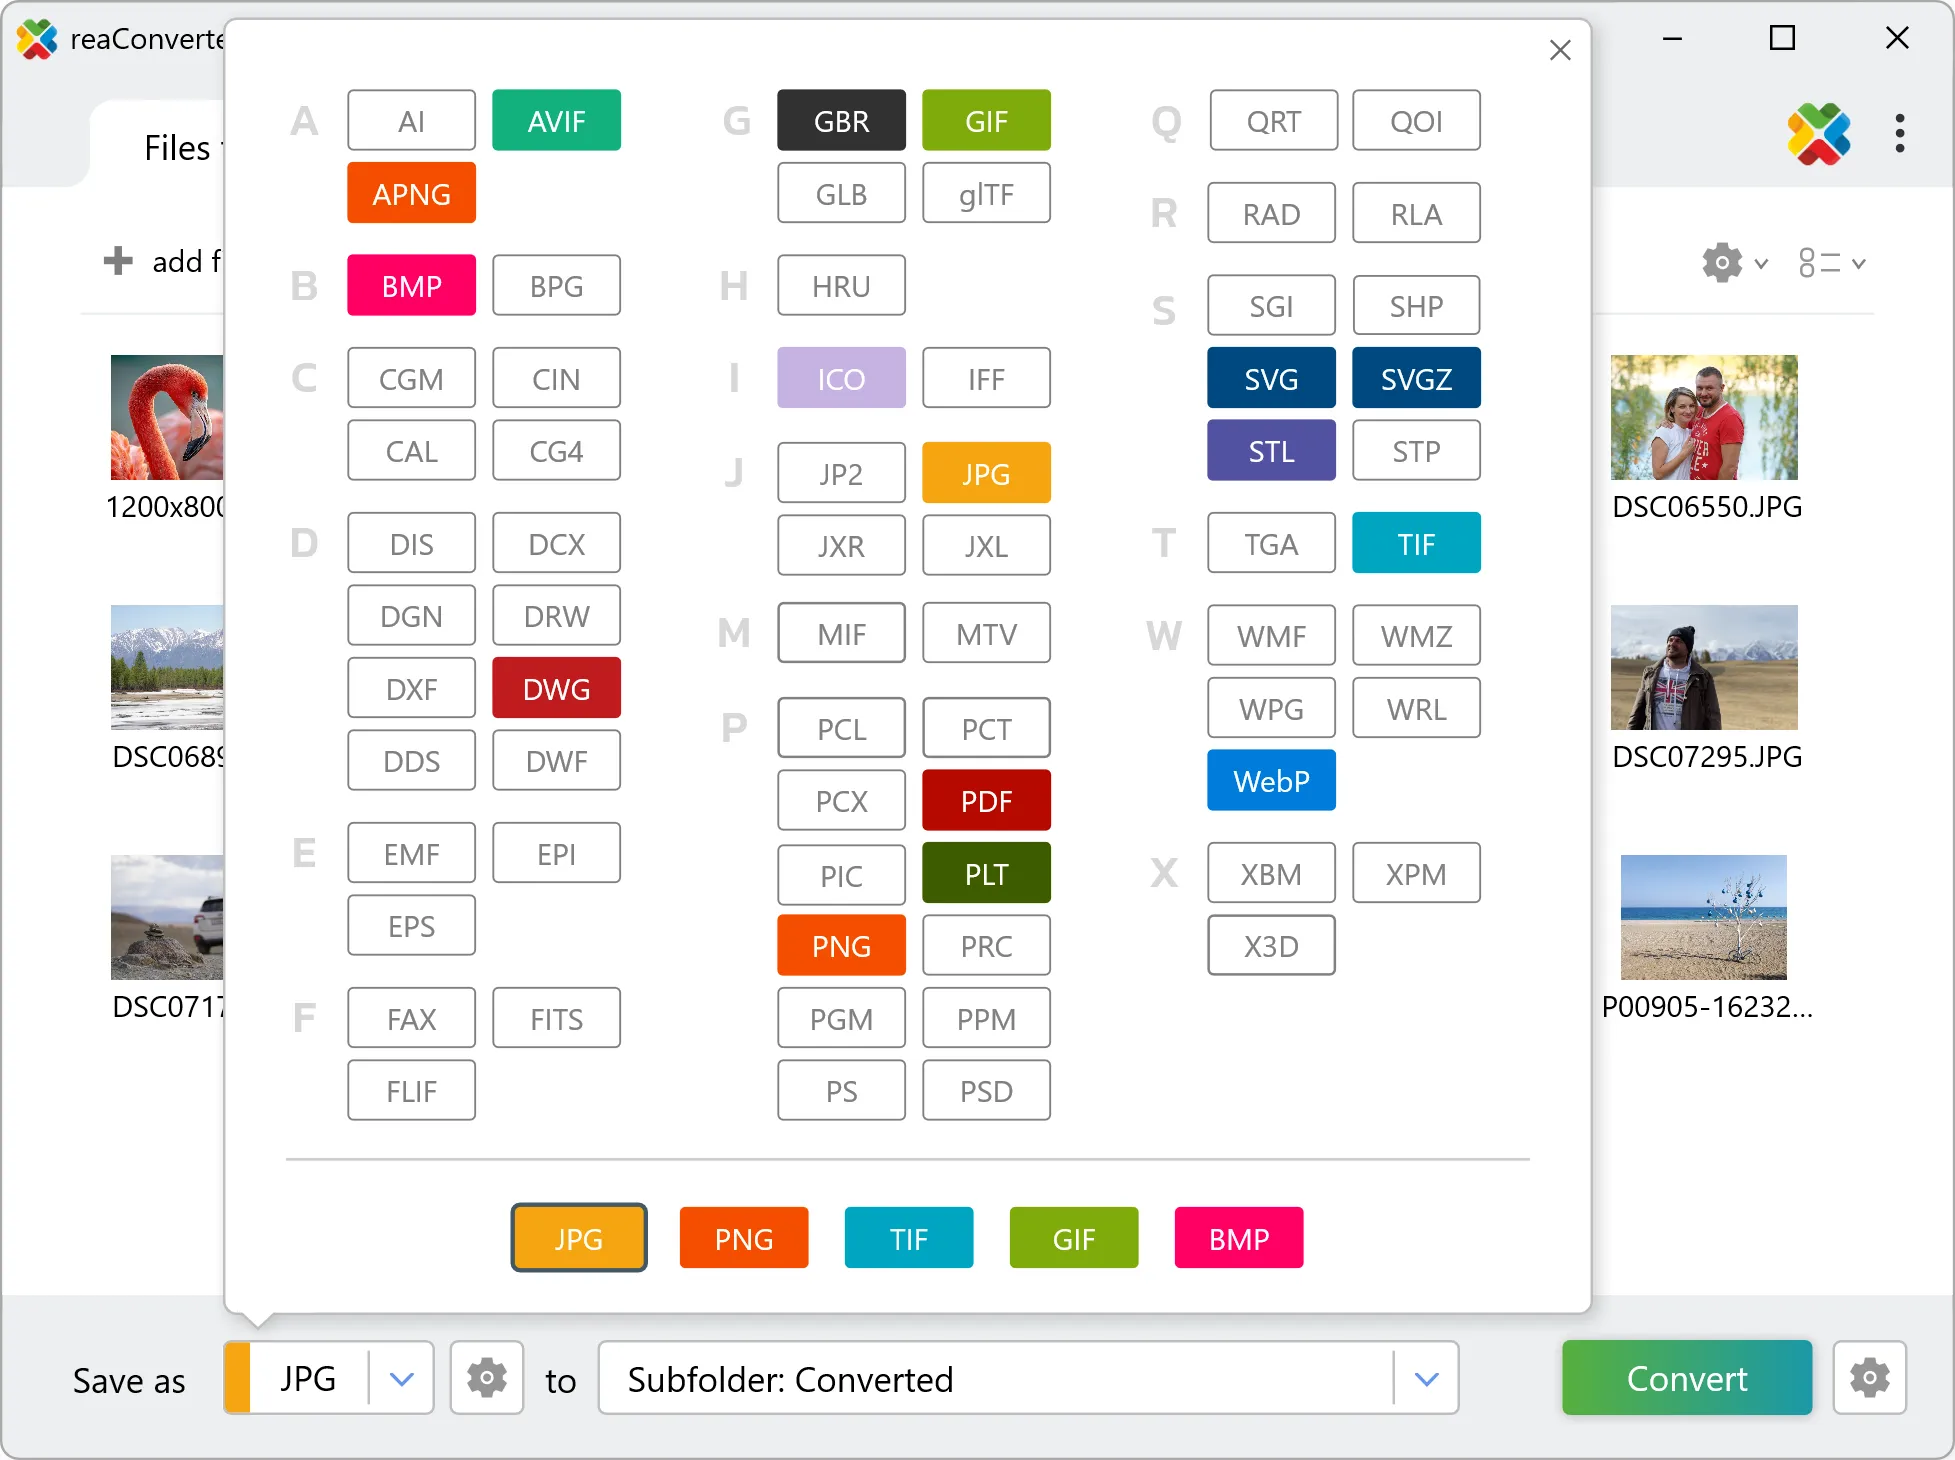
4. Start CR3 to STL conversion
Press the Convert button and reaConverter takes care of the rest. Processing time depends on file size and volume.

After processing, find all your new .stl files in the output location. The log shows details for each conversion.