



How to Convert Multiple .dds Images to .png?
1. Download and Install reaConverter
reaConverter installs quickly on any Windows PC. No dependencies, no bloatware — just a clean setup that's ready to use immediately. Built-in editing tools let you resize, crop, or watermark as you convert.

2. Load your DDS files
Add your DDS files to reaConverter. Whether it's a handful or an entire archive, the batch engine processes them efficiently.
Browse for files, drag them in, or add entire folders at once. reaConverter queues everything automatically.

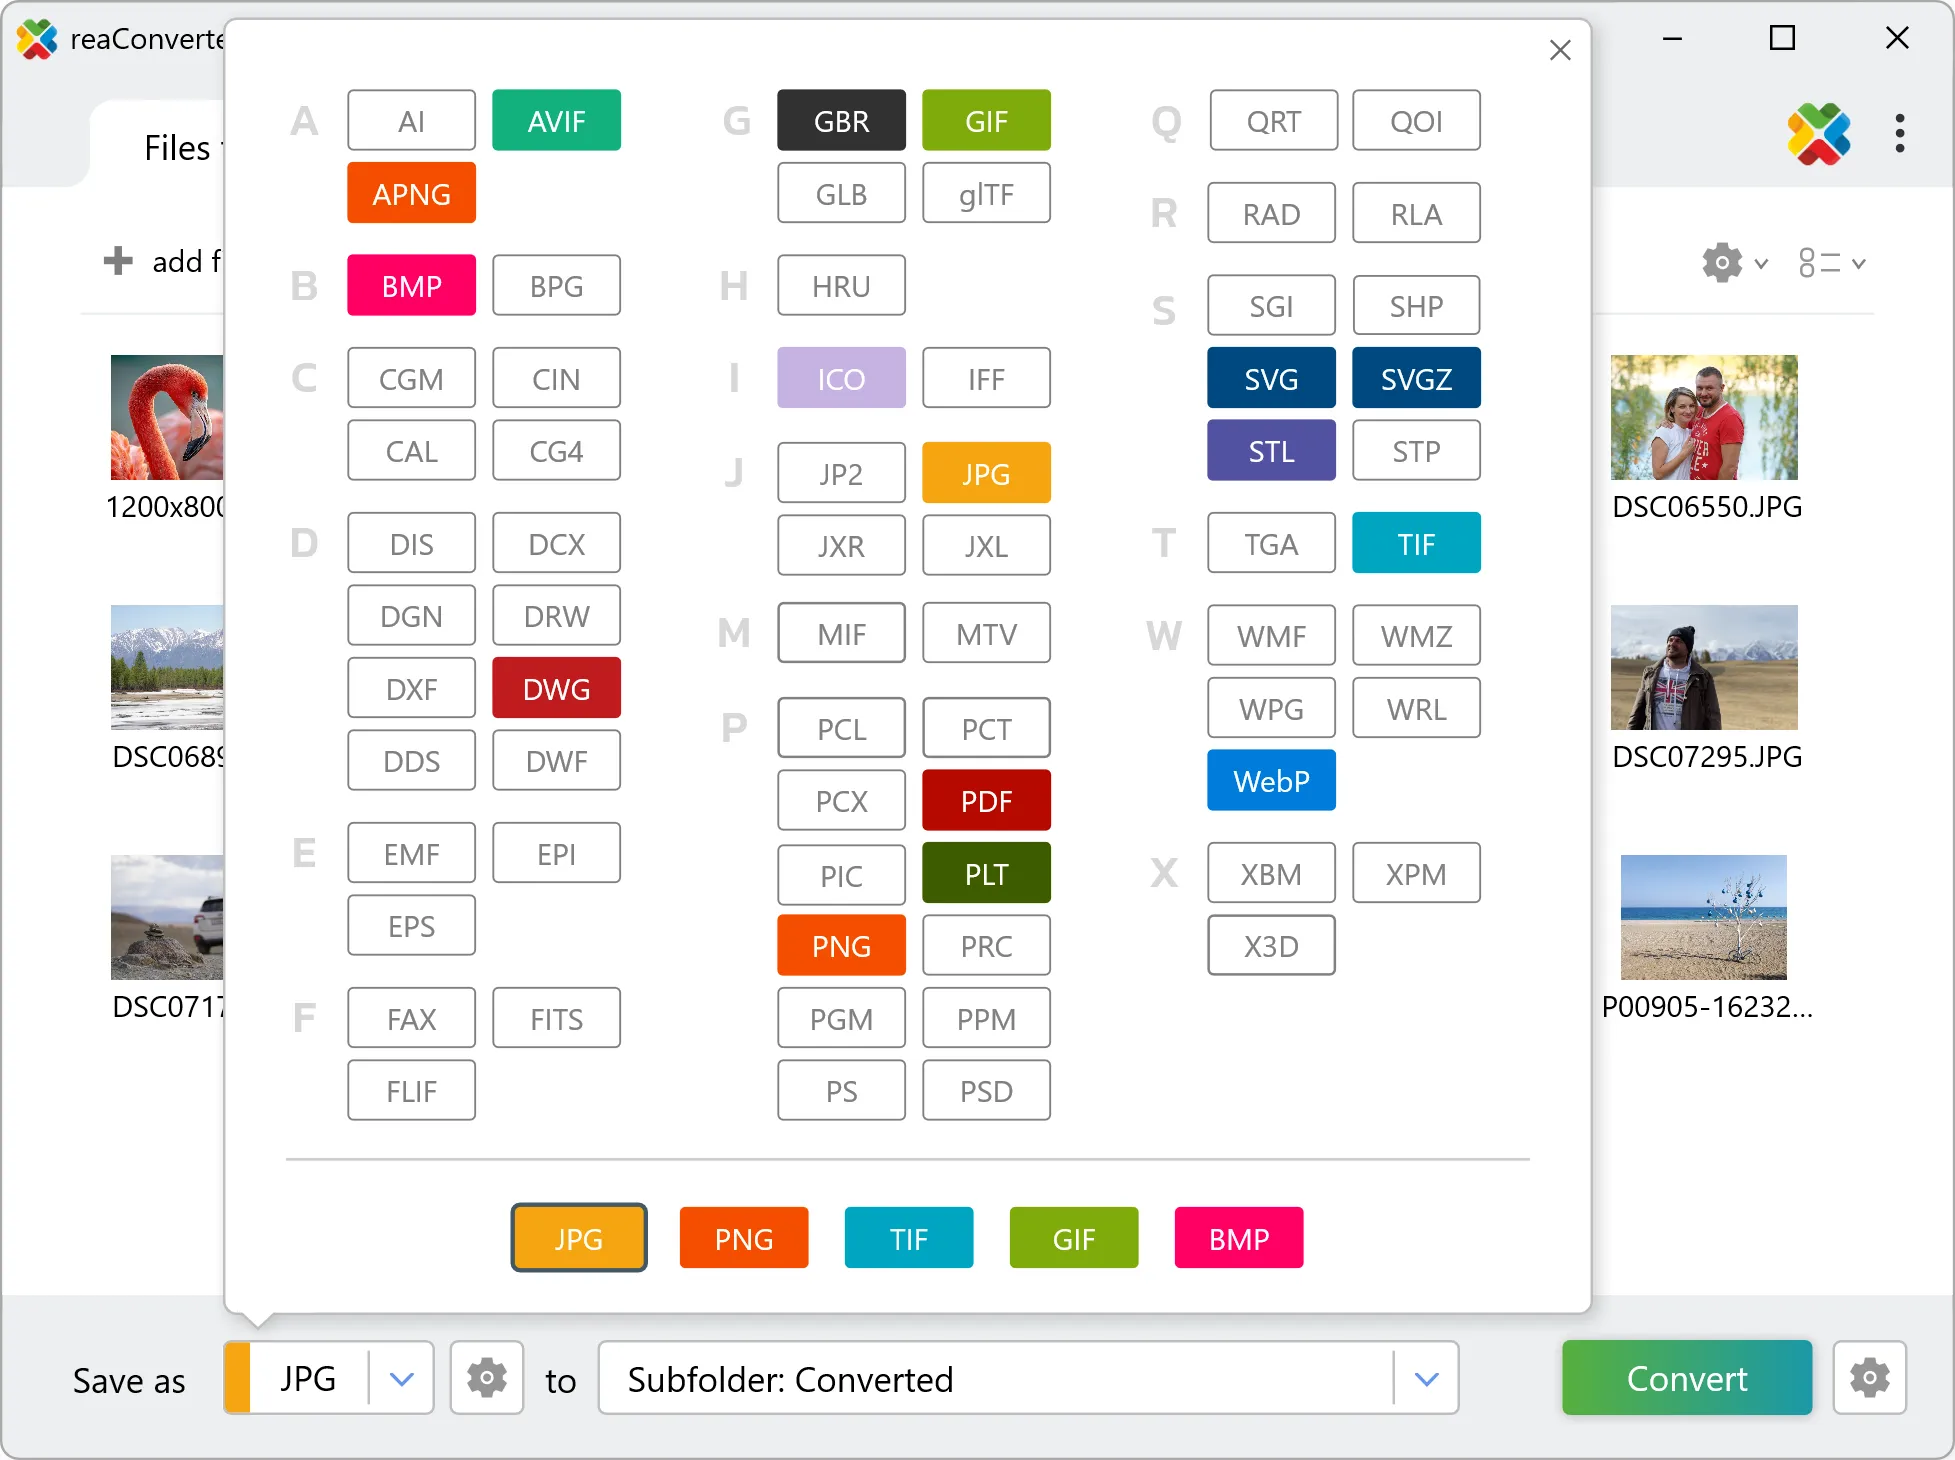
3. Select PNG as output format
Pick PNG as the output format. Set the destination folder and optionally configure resolution, quality, or file naming.
4. Start DDS to PNG conversion
Start the conversion with one click. reaConverter handles everything and notifies you when it's done.

When the batch finishes, your PNG files are ready in the destination folder you chose earlier.