FAQ
ORF to AI Conversion
What are ORF files?
ORF is an image file extension associated with RAW images captured with Olympus cameras. While most amateur photographers prefer shooting in a more accessible format, like JPEG or TIFF, which includes predefined features to correct aspects such as lack of brightness, color depth or noise, professionals mostly choose to shoot in RAW mode. Though ORF images can be up to 6 times larger than JPEGs or other compressed formats, they include a significantly larger number of options to add digital adjustments and change the image according to how the author wants.
What are AI files?
AI (Adobe Illustrator Artwork) is a proprietary format used by Adobe Illustrator to create vector-based drawings. Though highly popular among graphic designer due to its ability to offer the possibility of creating and editing vector-based drawings. AI files can prove to be incompatible with most image viewers. For this reason, designers usually prefer to convert them to a more accessible format after finalizing the drawing.
Can reaConverter convert ORF to AI?
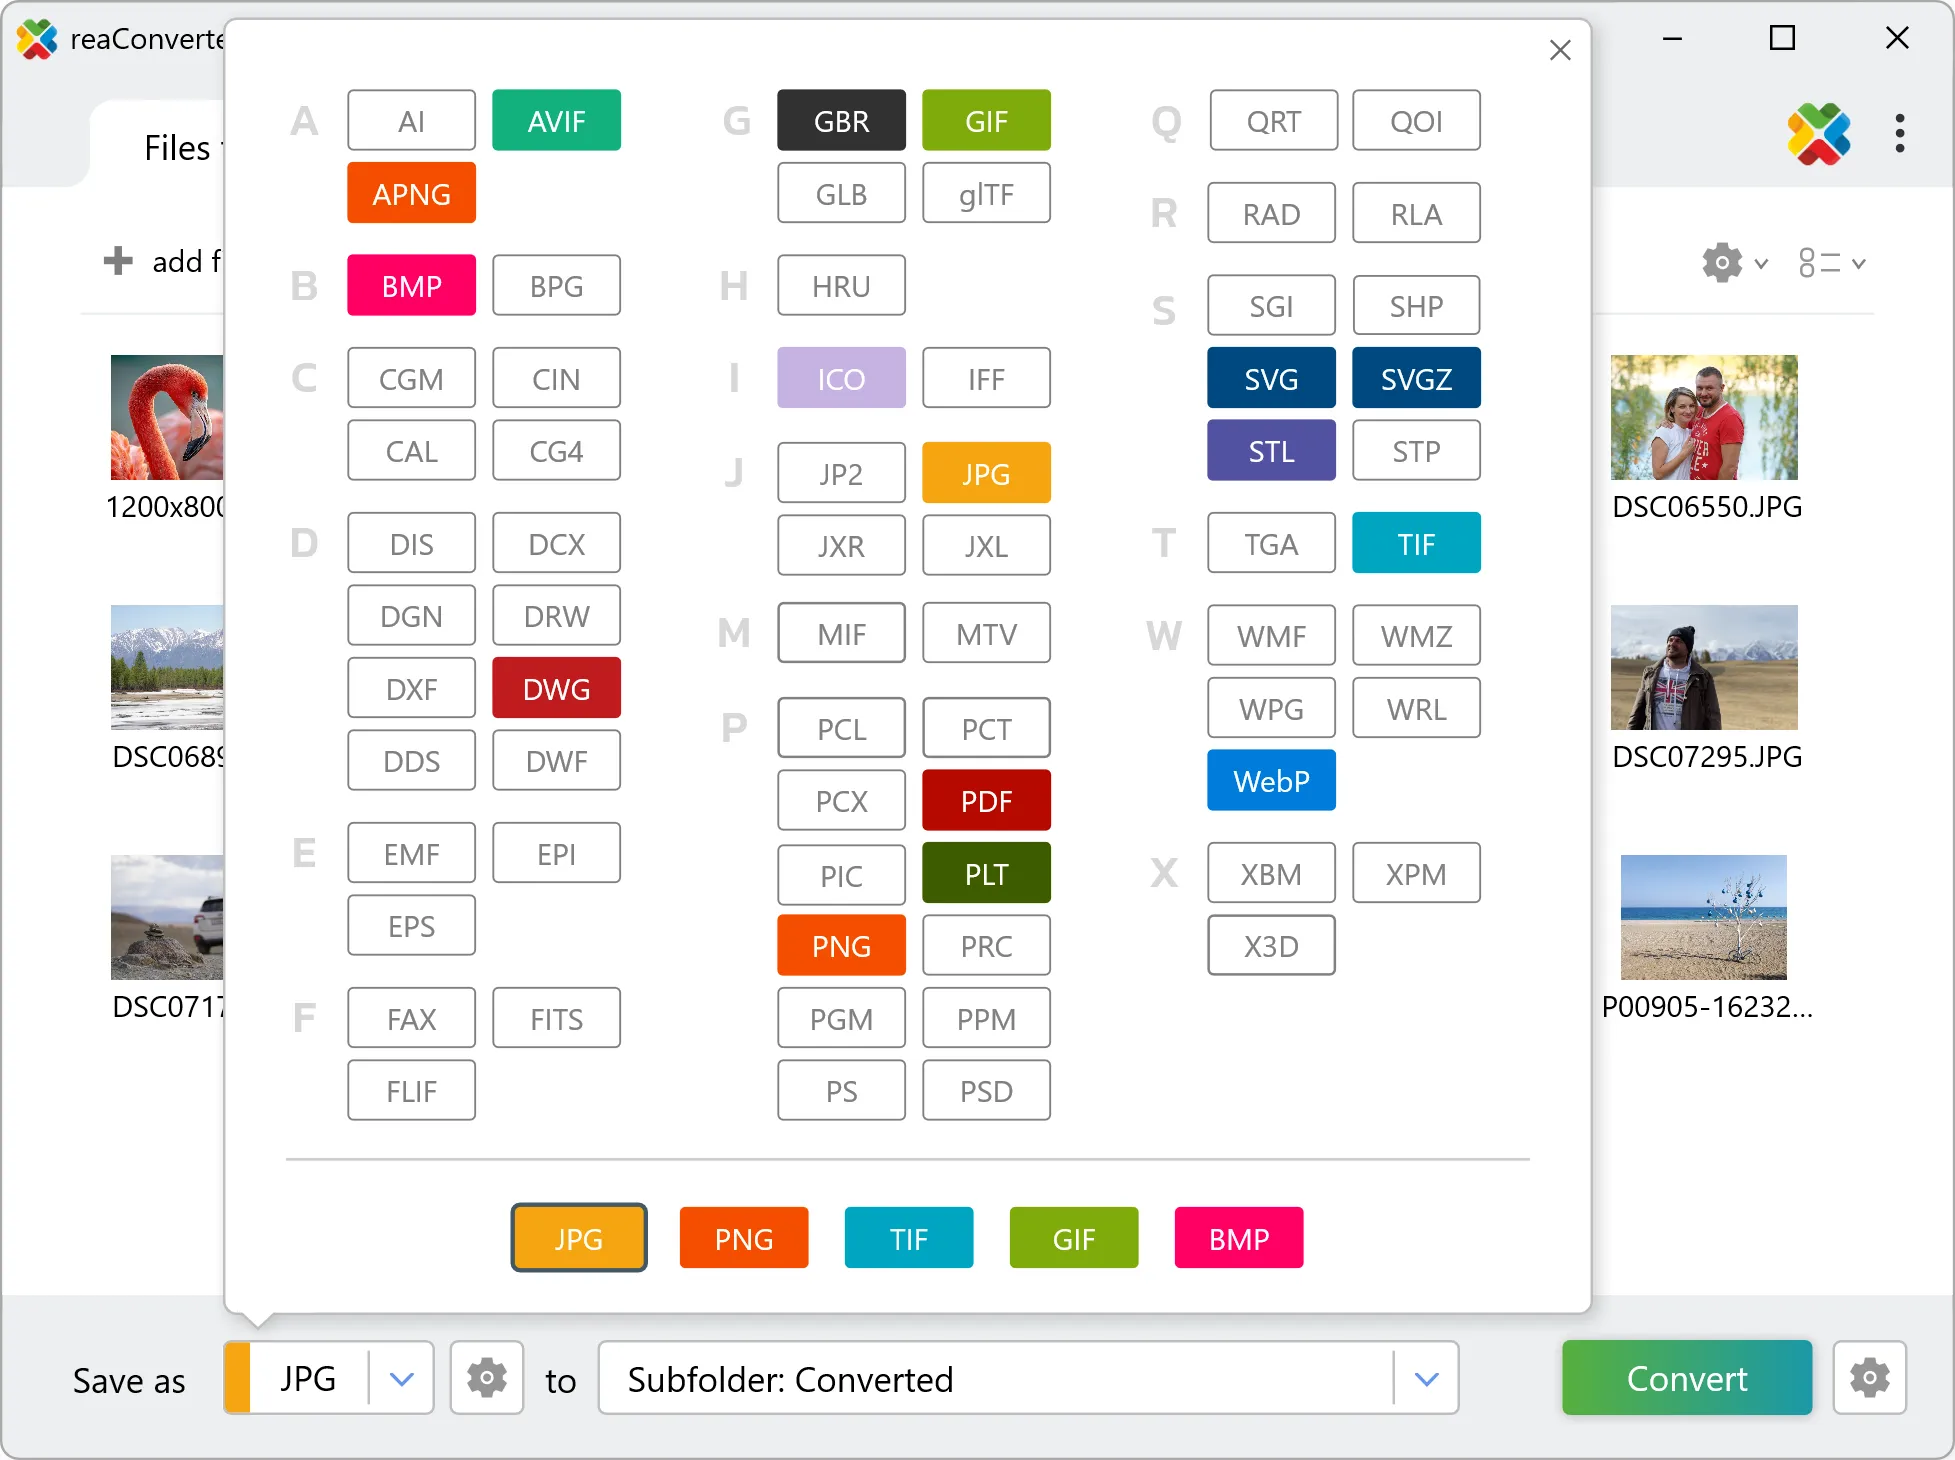
Yes! reaConverter instantly converts .orf to .ai with perfect quality preservation. With its batch processing feature, you can convert multiple files at once in just a few clicks. You can even convert ORF photos directly from Windows Explorer using the right-click menu — fast and convenient.
What is reaConverter used for?
reaConverter is a software program used for converting images and other types of files from one format to another. It supports a wide range of file formats and allows users to convert multiple files at once, making it a valuable tool for graphic designers, photographers, and other professionals who work with digital images. reaConverter also includes features for resizing, cropping, and editing images, along with batch processing capabilities that help automate repetitive tasks.
Can I convert ORF to AI online?
If you only need to convert a few ORF files to AI format, feel free to try our free online free online ORF to AI converter — perfect for small batches with no installation needed!
How can I turn ORF files into AI on my computer?
The best way to change ORFs to AIs on your PC is to install a quality piece of software, such as reaConverter. This software is extremely efficient in managing a wide range of batch files conversions, including conversion from ORF to AI.
How can I automate ORF to AI files conversion?
reaConverter supports all the most useful automation features such as right-click сonversion and Watch Folders for the most efficient automated files conversion in any software of this type.
Is there a way to convert ORF files to AI using the command prompt?
reaConverter provides full access to all its features via Windows command line, including a high-performance command-line orf to ai converter for batch processing.
What else can I do with reaConverter?
Convert Gerber imagesConvert picture color spaceConvert whole-slide imagesResize pictureConvert RAW photo formats
Related conversions
Other ways to convert ORF files, and other sources that convert to AI.