



How to Convert Multiple .orf Images to .dwg?
1. Download and Install reaConverter
Download reaConverter and install it in seconds. The setup is straightforward — no complex configuration, no extra software required. Apply image edits like resize, crop, or color adjustment while converting.

2. Load your ORF files
Add your ORF files to reaConverter. Whether it's a handful or an entire archive, the batch engine processes them efficiently.
You can drag-and-drop files, browse to a folder, or add entire directory trees including subfolders.

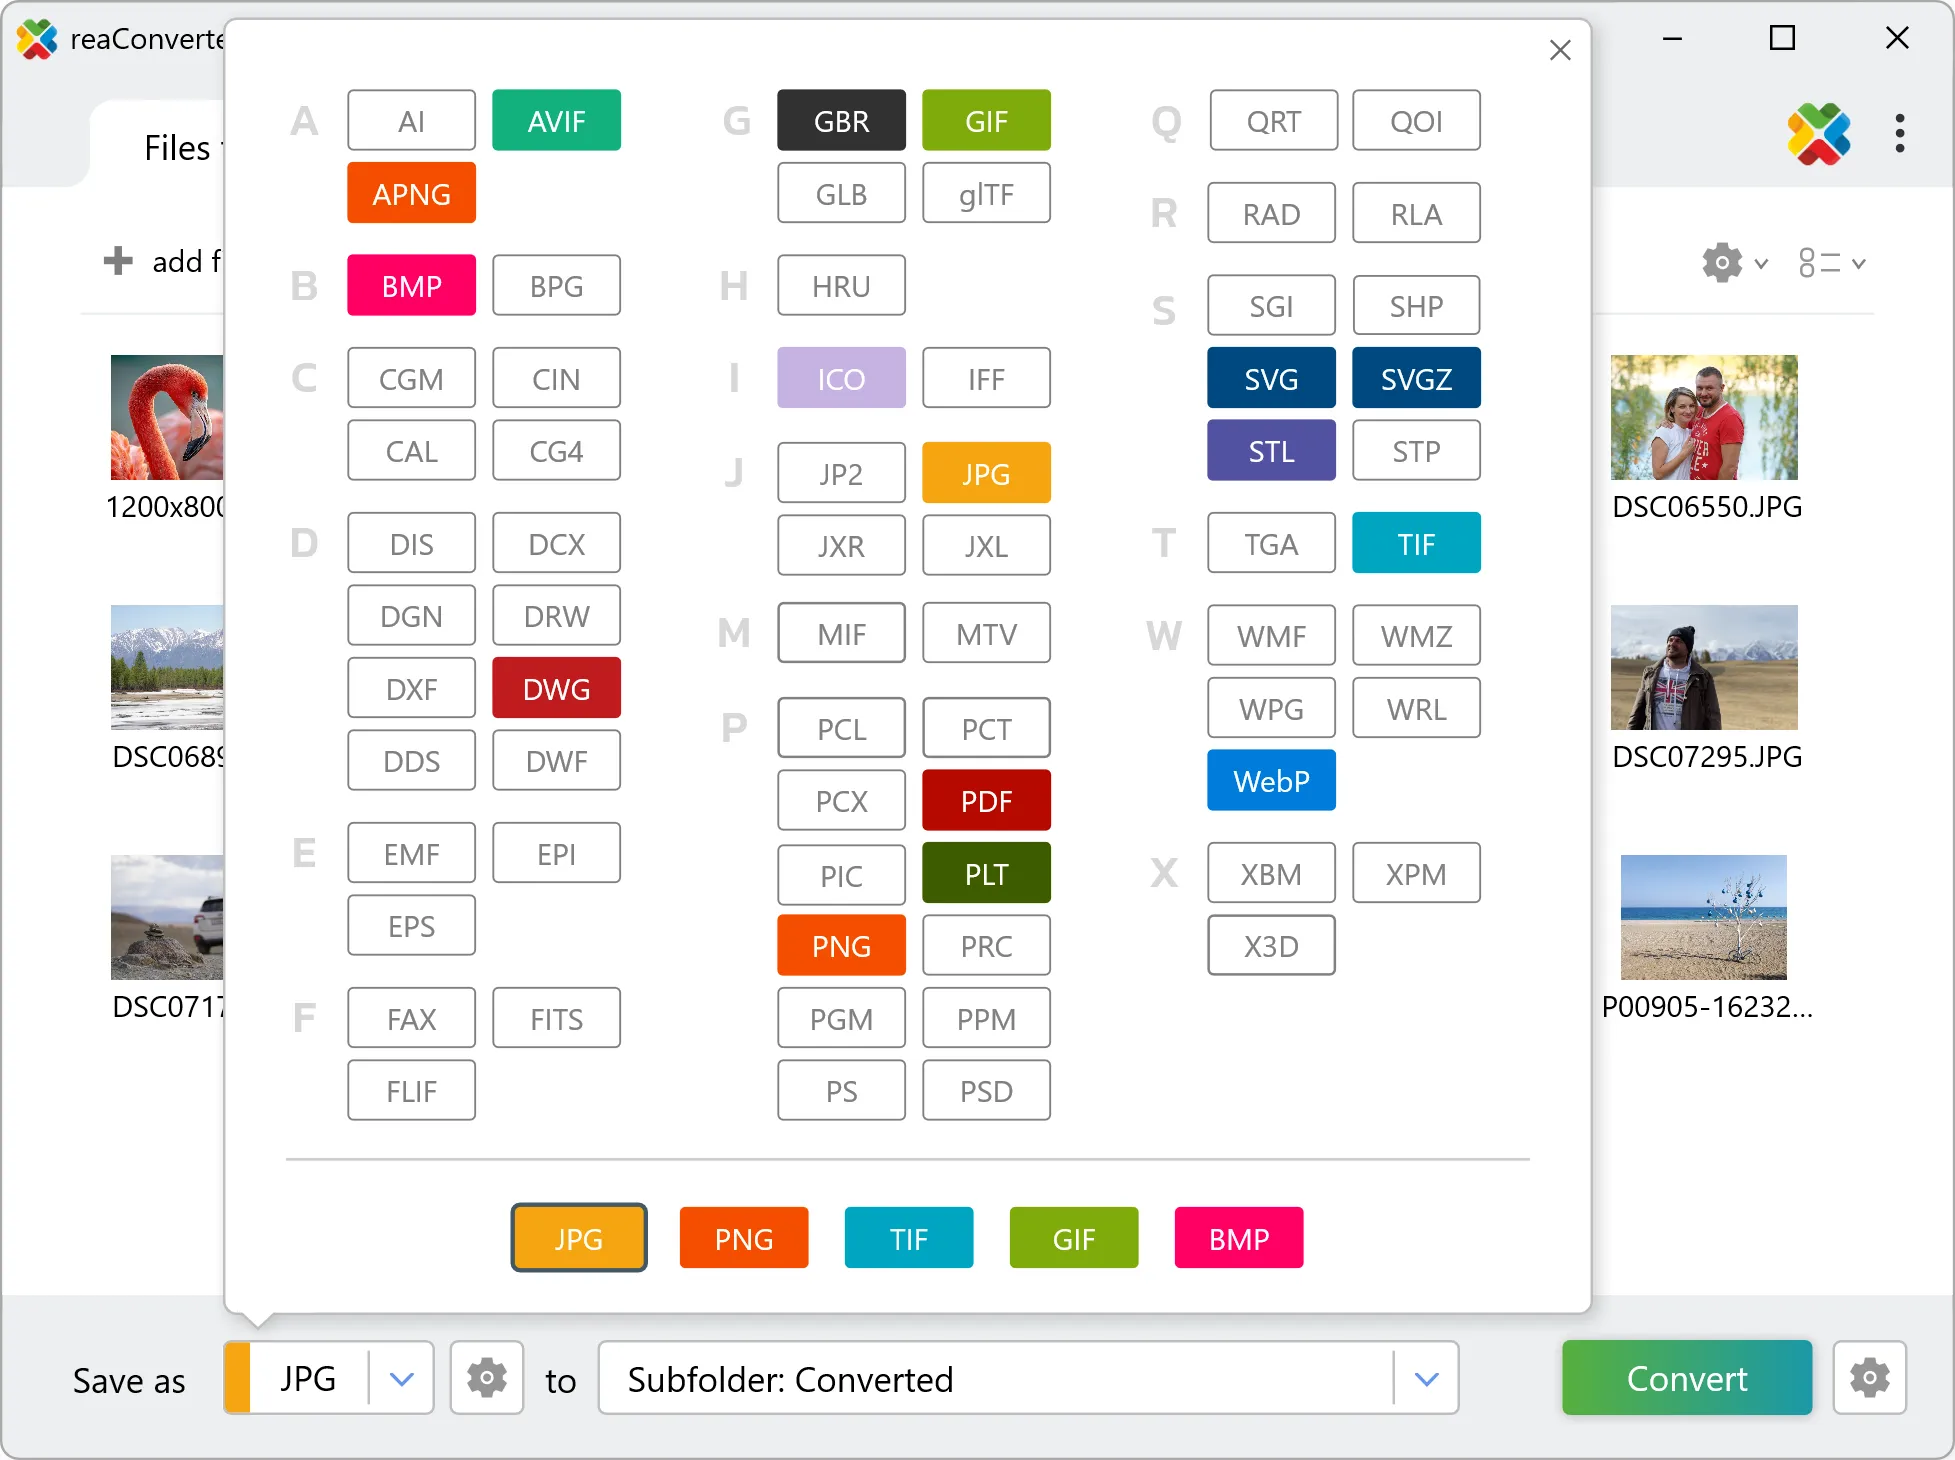
3. Select DWG as output format
Choose DWG as output format. Adjust color profile, quality, and resolution settings to match your photography workflow.
4. Start ORF to DWG conversion
Click the Convert button to start. reaConverter will process all your files with the settings you selected.

When finished, your new .dwg files will be waiting in the destination folder.