



How to Convert Multiple .ps Files to .dds?
1. Download and Install reaConverter
reaConverter installs quickly on any Windows PC. No dependencies, no bloatware — just a clean setup that's ready to use immediately.

2. Load your PS files
Start reaConverter and add your .ps files. The software processes everything locally, so your files never leave your computer.
Use drag-and-drop, folder browser, or right-click conversion from Explorer.

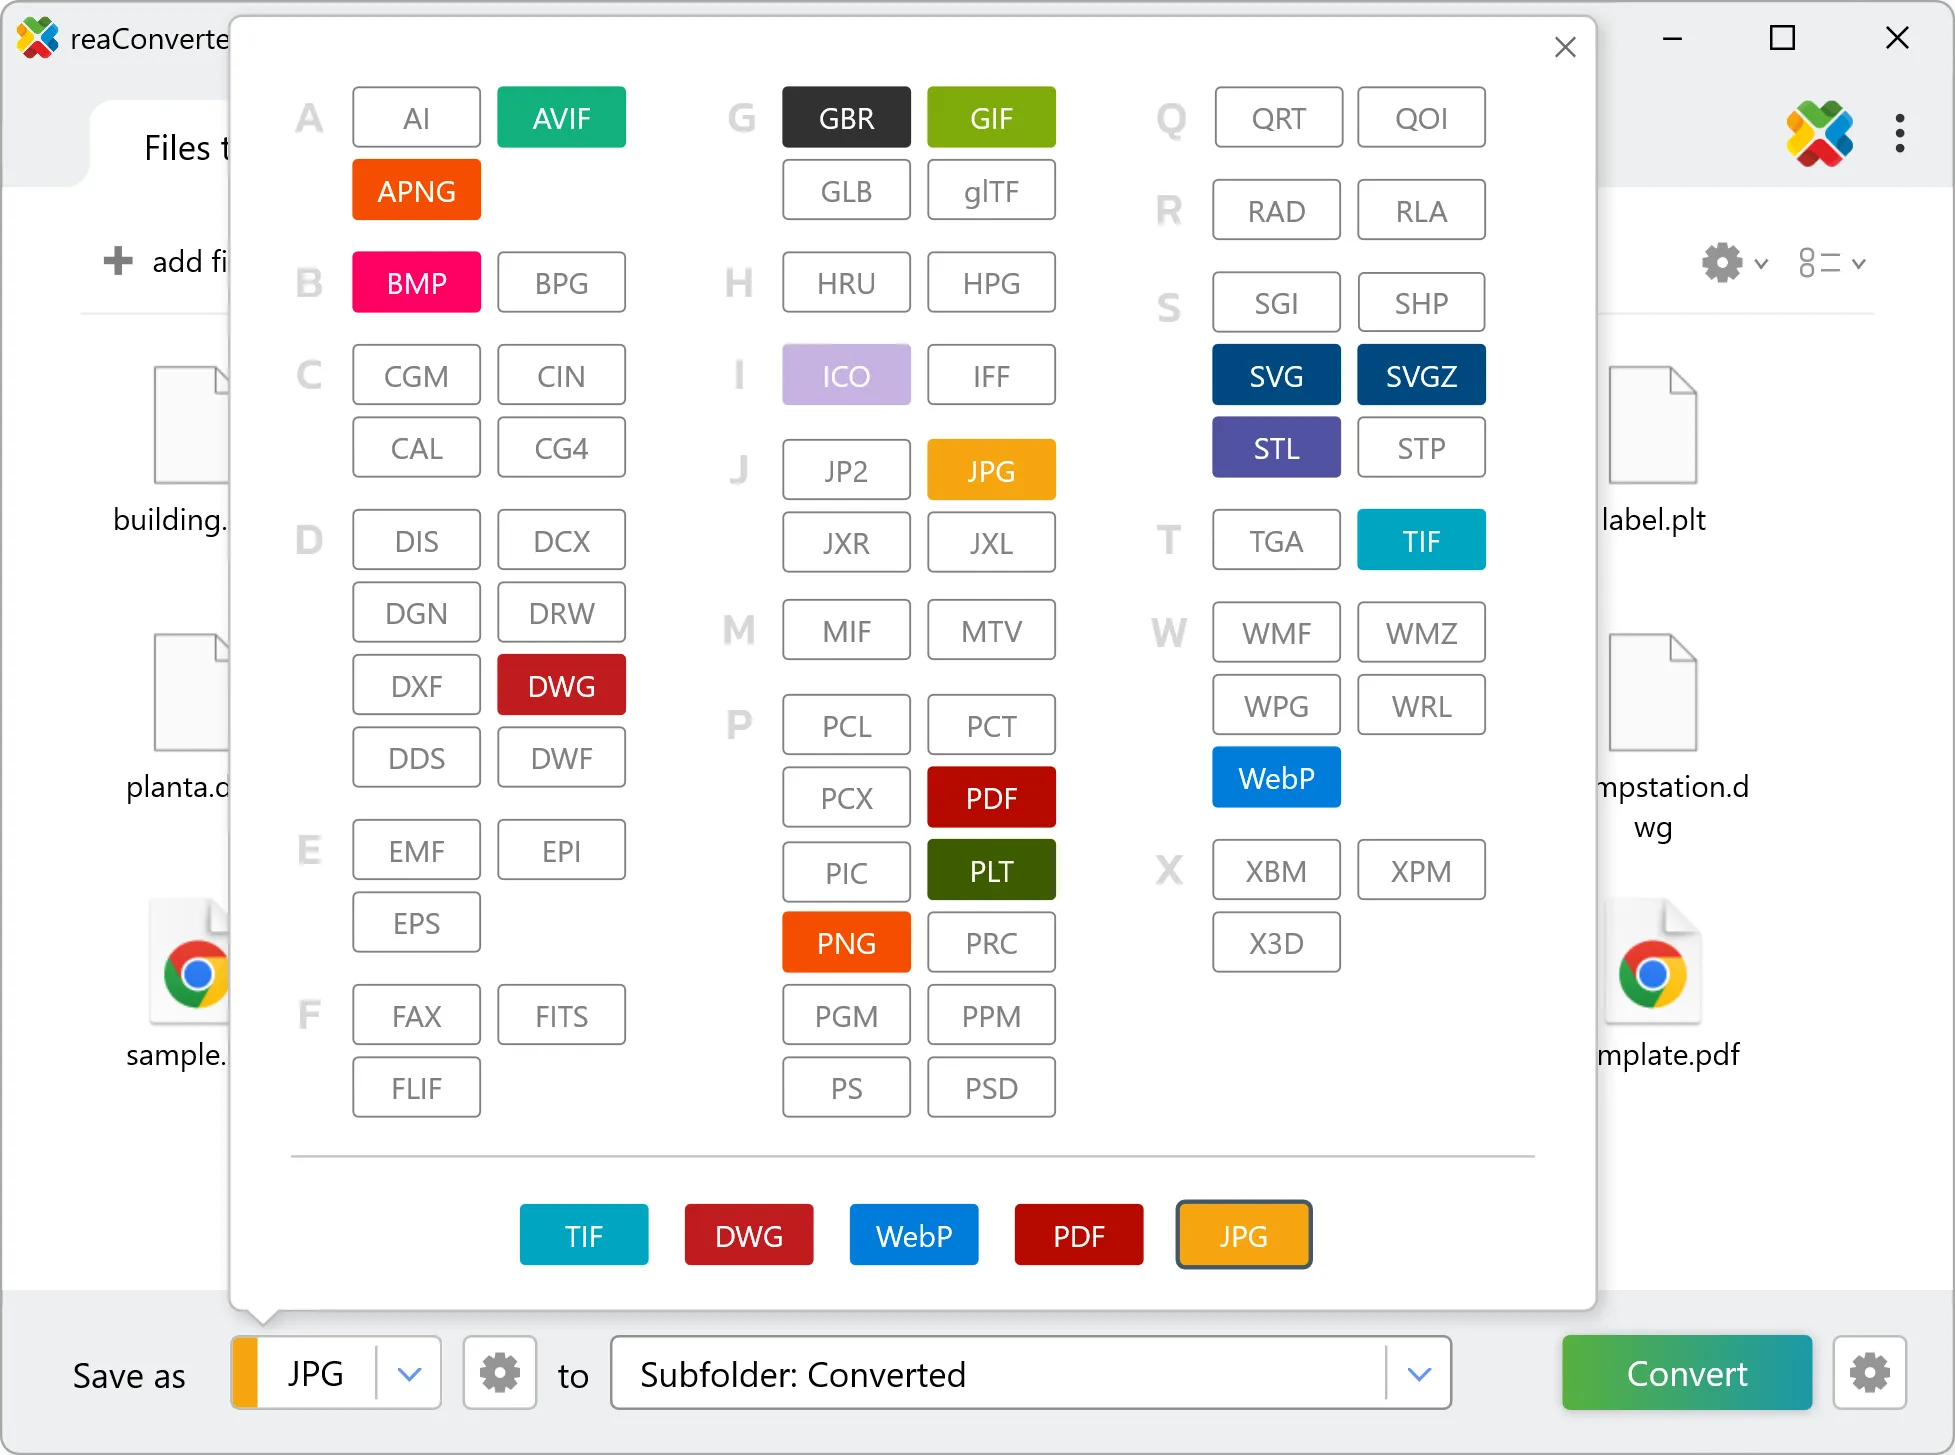
3. Select DDS as output format
Select DDS from 800+ supported output formats. Choose your destination folder and adjust settings to match your needs.
4. Start PS to DDS conversion
Click Convert to start the batch. reaConverter processes files quickly and shows you the status of each one.

Once done, reaConverter shows a summary. Click 'Show converted files' to jump straight to your DDS output.