FAQ
SR2 to WMF Conversion
What are SR2 files?
SR2 is a proprietary format used by Sony cameras to capture RAW images. Other similar formats used by Sony are ARW and SRF. Shooting in RAW mode is very appealing for professional photographers because it allows them to control to a larger extent how the image will look like. With compressed formats such as JPG, the camera uses a series of pre-defined settings in order to bring the image to a reasonably small format, but in the case of RAW images the camera captures as much as its sensors allow and the photographer can correct unwanted aspects during digital post-processing.
What are WMF files?
The WMF (Windows Metafile) format represents an image file with vector graphics, bitmap components or raster graphics, consisting mainly of drawing operations and commands. It was developed and released in the late 1980s by Microsoft and it included a 16-bit structure. In time WMF files were replaced by EMFs, featuring a 32-bit structure. WMFs are currently compatible with some programs from the Microsoft Office pack, such as Word, Power Point or Publisher.
Can reaConverter convert SR2 to WMF?
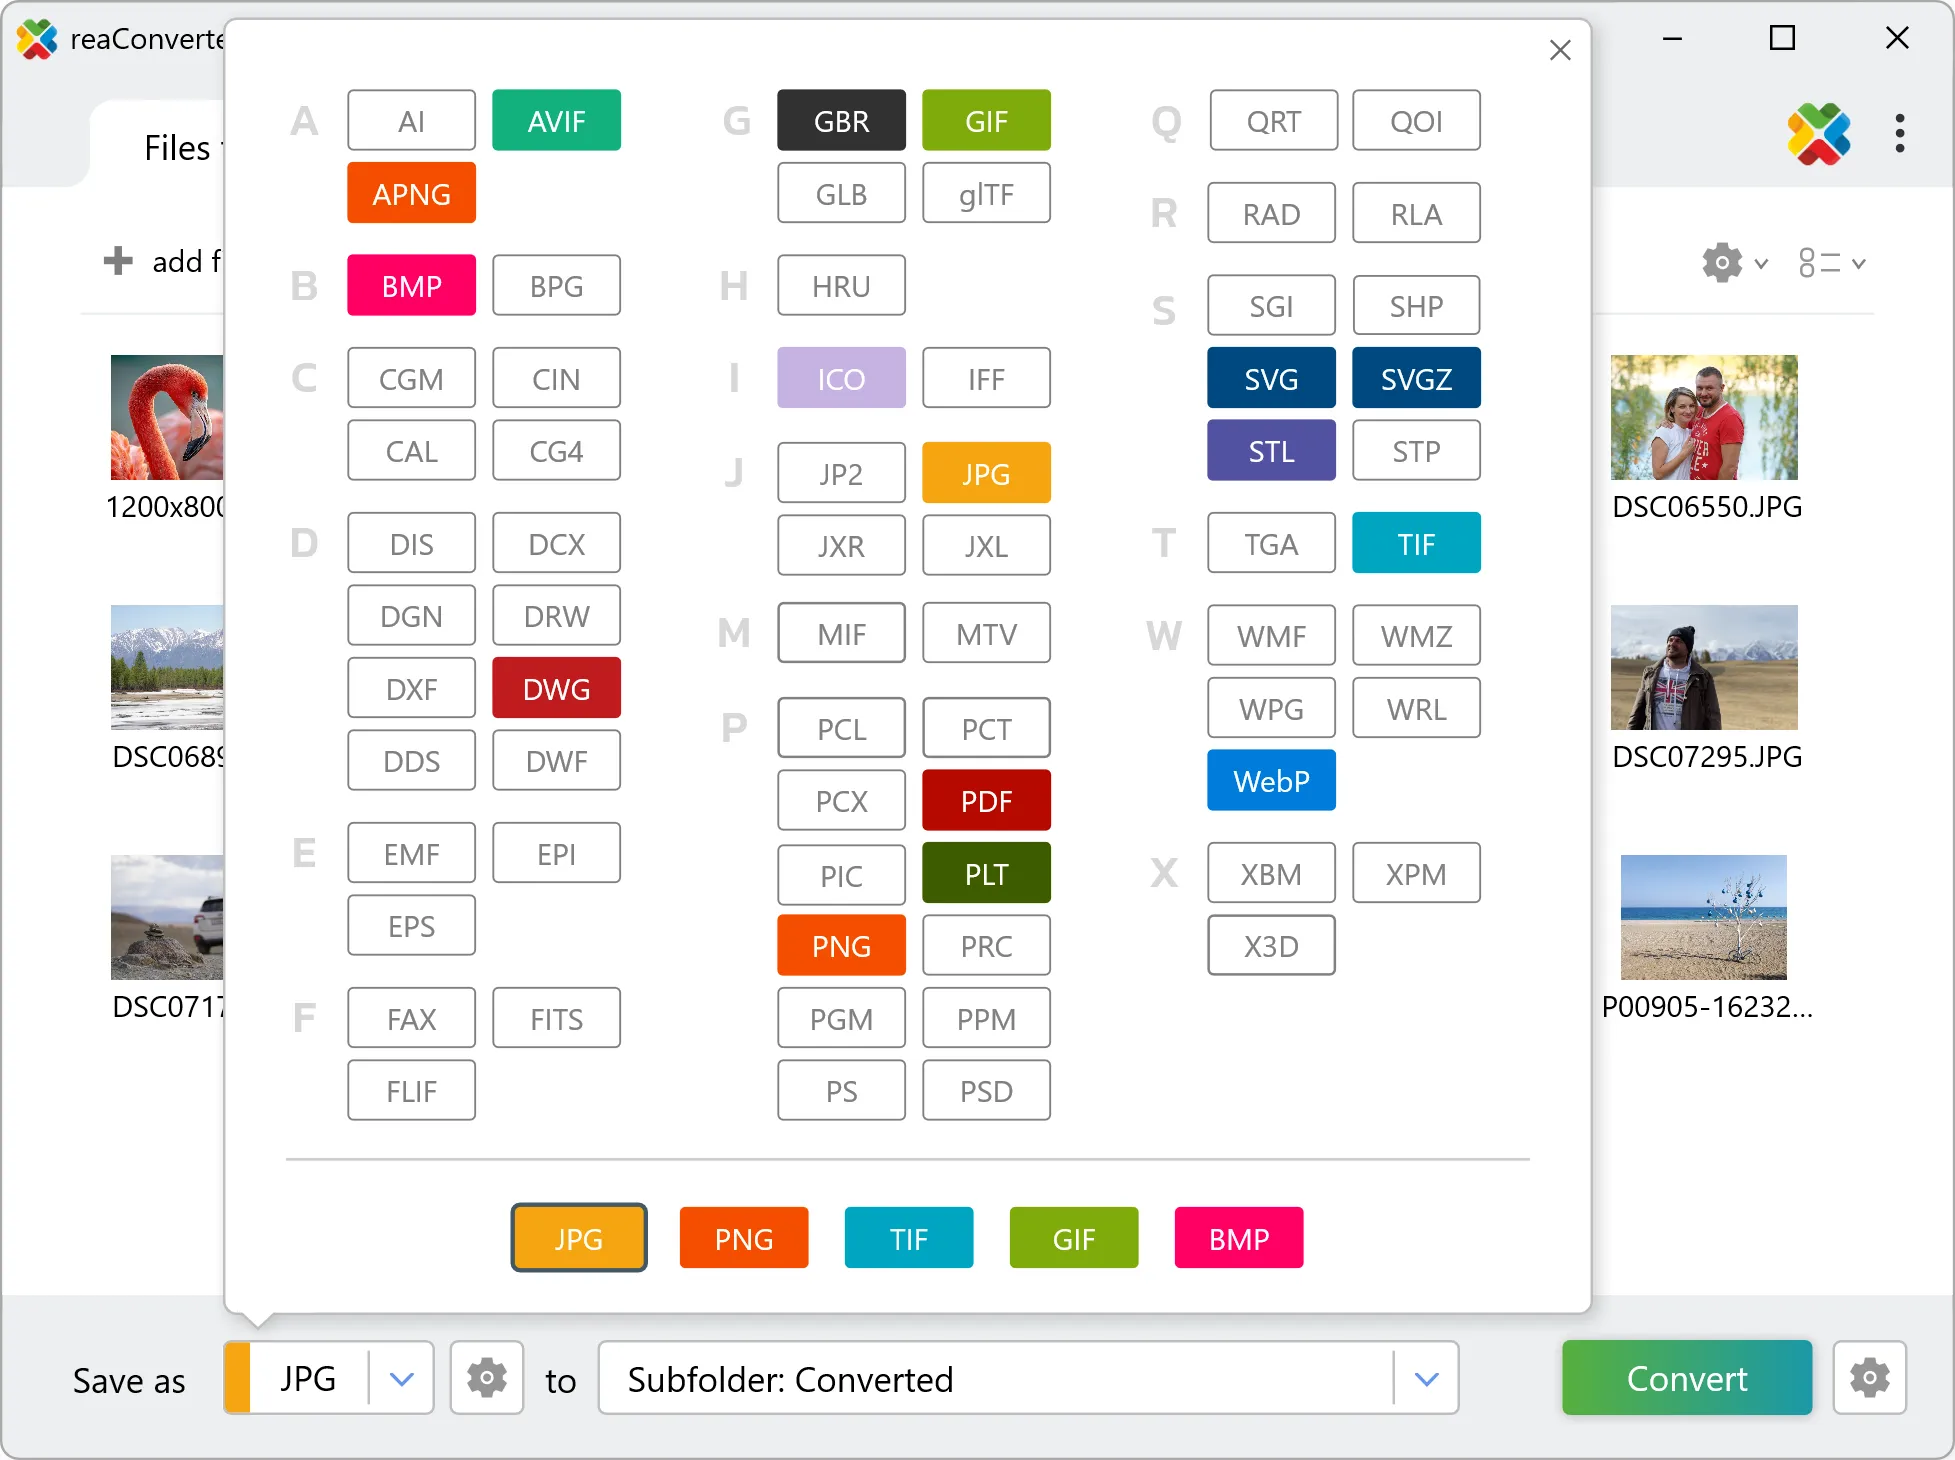
Yes! reaConverter instantly converts .sr2 to .wmf with perfect quality preservation. With its batch processing feature, you can convert multiple files at once in just a few clicks. You can even convert SR2 photos directly from Windows Explorer using the right-click menu — fast and convenient.
What is reaConverter used for?
reaConverter is a software program used for converting images and other types of files from one format to another. It supports a wide range of file formats and allows users to convert multiple files at once, making it a valuable tool for graphic designers, photographers, and other professionals who work with digital images. reaConverter also includes features for resizing, cropping, and editing images, along with batch processing capabilities that help automate repetitive tasks.
Can I convert SR2 to WMF online?
If you only need to convert a few SR2 files to WMF format, feel free to try our free online free online SR2 to WMF converter — perfect for small batches with no installation needed!
How can I turn SR2 files into WMF on my computer?
The best way to change SR2s to WMFs on your PC is to install a quality piece of software, such as reaConverter. This software is extremely efficient in managing a wide range of batch files conversions, including conversion from SR2 to WMF.
How can I automate SR2 to WMF files conversion?
reaConverter supports all the most useful automation features such as right-click сonversion and Watch Folders for the most efficient automated files conversion in any software of this type.
Is there a way to convert SR2 files to WMF using the command prompt?
reaConverter provides full access to all its features via Windows command line, including a high-performance command-line sr2 to wmf converter for batch processing.
What else can I do with reaConverter?
Change format settingsCopy metadata (EXIF, IPTC)Convert CAD formatsSet manual file dateConvert GIS files
Related conversions
Other ways to convert SR2 files, and other sources that convert to WMF.