FAQ
VSI to JPEG Conversion
What are VSI files?
VSI (Virtual Slide Image) is a proprietary whole-slide imaging format developed by Olympus for digital pathology and microscopy. It stores high-resolution scanned slides with multi-layer, multi-resolution data for medical and research applications.
What are JPEG files?
JPG or JPEG is a commonly used method of lossy compression. JPEG compression is used in a number of image file formats. JPEG/Exif is the most common image format used by digital cameras and other photographic image capture devices; it is the most common format for storing and transmitting photographic images on the internet.
Can reaConverter convert VSI to JPEG?
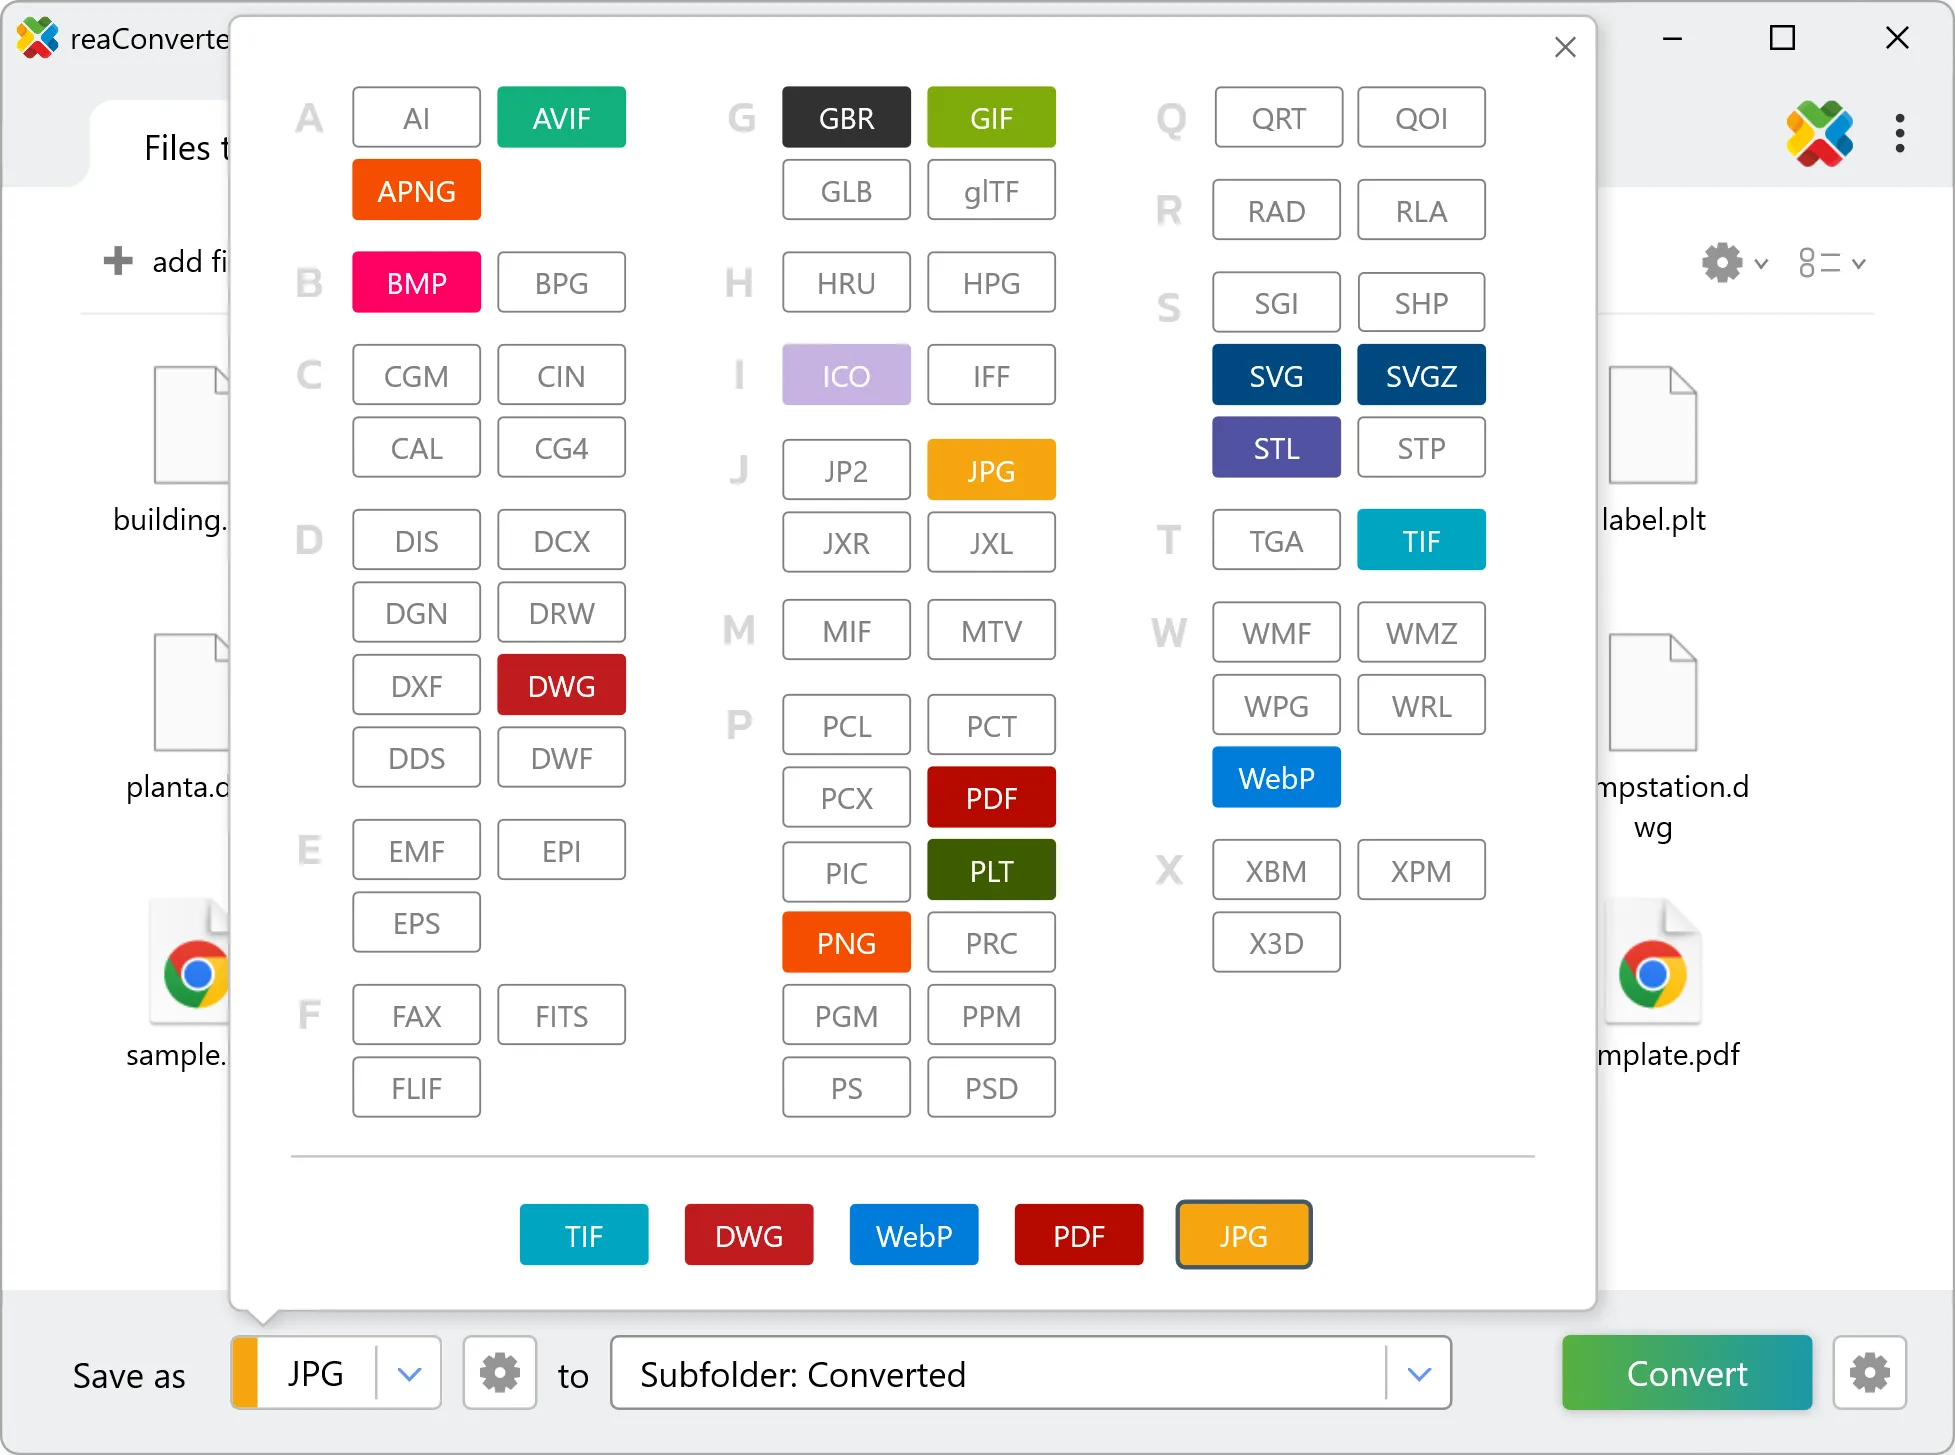
Yes! reaConverter instantly converts .vsi to .jpeg with perfect quality preservation. With its batch processing feature, you can convert multiple files at once in just a few clicks. You can even convert VSI files directly from Windows Explorer using the right-click menu — fast and convenient.
Why choose offline conversion with reaConverter?
reaConverter is a software program that is used for offline files conversion. Your proprietary documents never leave your computer – essential for architects, engineers, healthcare and government contractors handling classified projects. Meets GDPR, HIPAA, CCPA, and corporate security policies by ensuring files never cross borders or third-party systems.
Can I convert VSI to JPEG online?
If you only need to convert a few VSI files to JPEG format, feel free to try our free online free online VSI to JPEG converter — perfect for small batches with no installation needed!
How can I turn VSI files into JPEG on my computer?
The best way to change VSIs to JPEGs on your PC is to install a quality piece of software, such as reaConverter. This software is extremely efficient in managing a wide range of batch files conversions, including conversion from VSI to JPEG.
How can I automate VSI to JPEG files conversion?
reaConverter supports all the most useful automation features such as right-click сonversion and Watch Folders for the most efficient automated files conversion in any software of this type.
Is there a way to convert VSI files to JPEG using the command prompt?
reaConverter provides full access to all its features via Windows command line, including a high-performance command-line vsi to jpeg converter for batch processing.
What else can I do with reaConverter?
Convert PDFAdd watermark on imageConvert GIS filesConvert CAD formatsSet file date
Related conversions
Other ways to convert VSI files, and other sources that convert to JPEG.